Here’s a tutorial for making a simple siggy for use on a message board. I'm using Photoshop 7 in this tutorial. This is a very, very basic tutorial, for beginning users who want to make simple graphics.
You will have to click each link to see the pictures of the steps.
If you have any questions, please don’t hesitate to ask! I can also be found on AOL IM at MaitriScraps, if anyone ever has a quick question about using Photoshop.
Making a Simple Siggy
Step 1
To the left are my tools; to the right I have my color palette and layer windows visible.
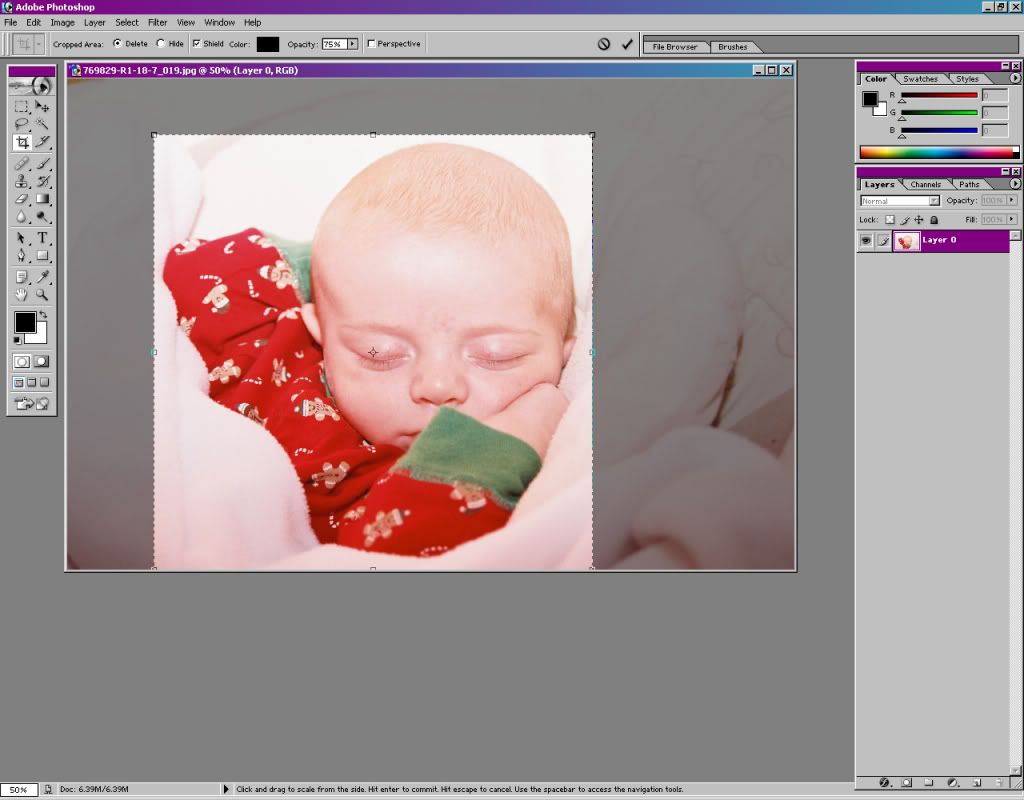
I’m going to use the Crop tool to cut out just the part of the picture that I want to use:
Step 2
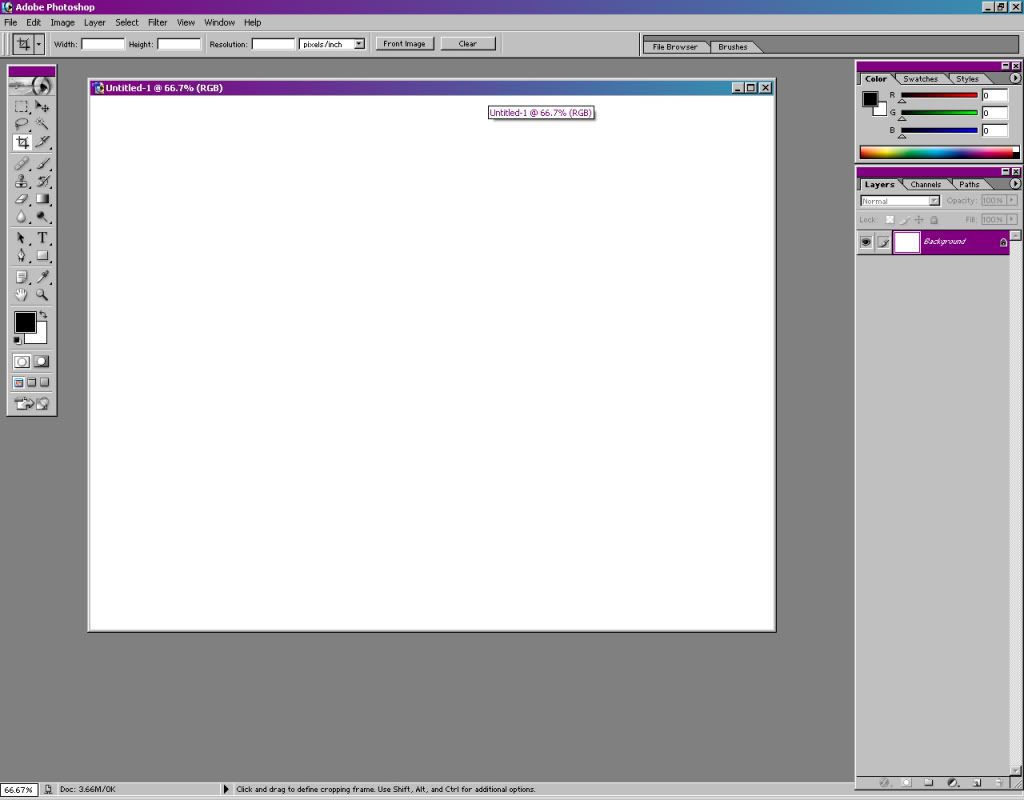
Now I’m going to go to File > New and create a new picture with a blank white background:
Step 3
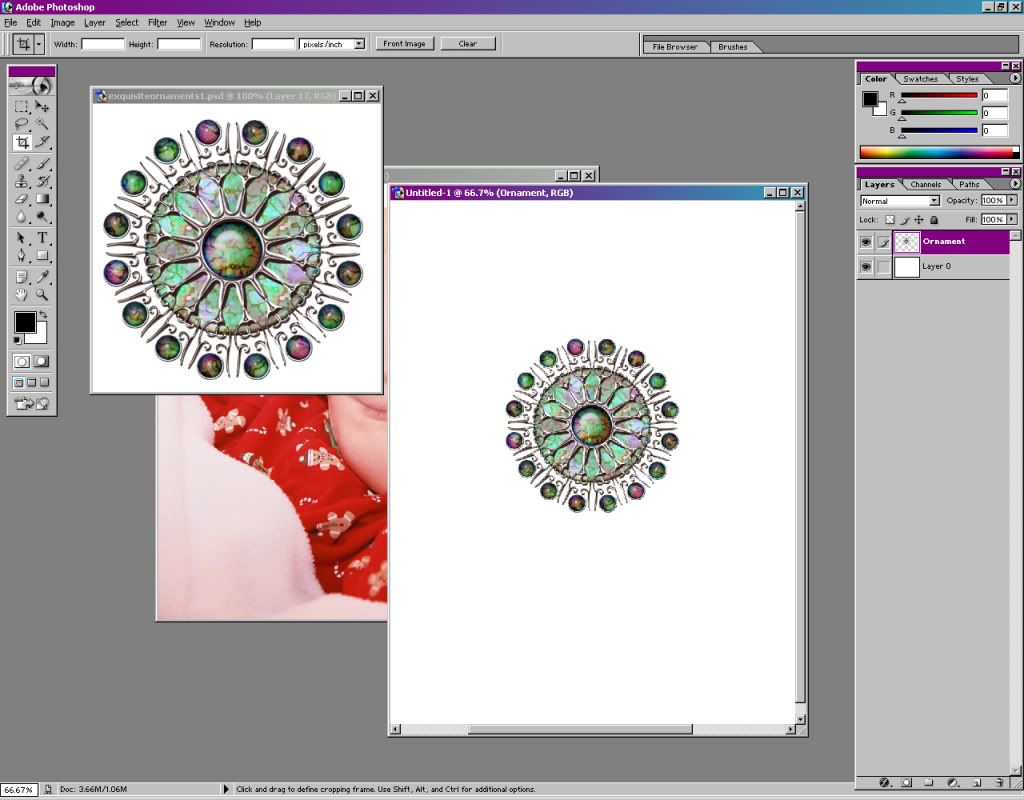
Now I want to open up the file that has the graphic I want to use with my siggy. In this case, it’s a pretty little ornament. I open the file and, while holding down the Ctrl key, left click and drag the ornament to the new blank picture:
Step 4
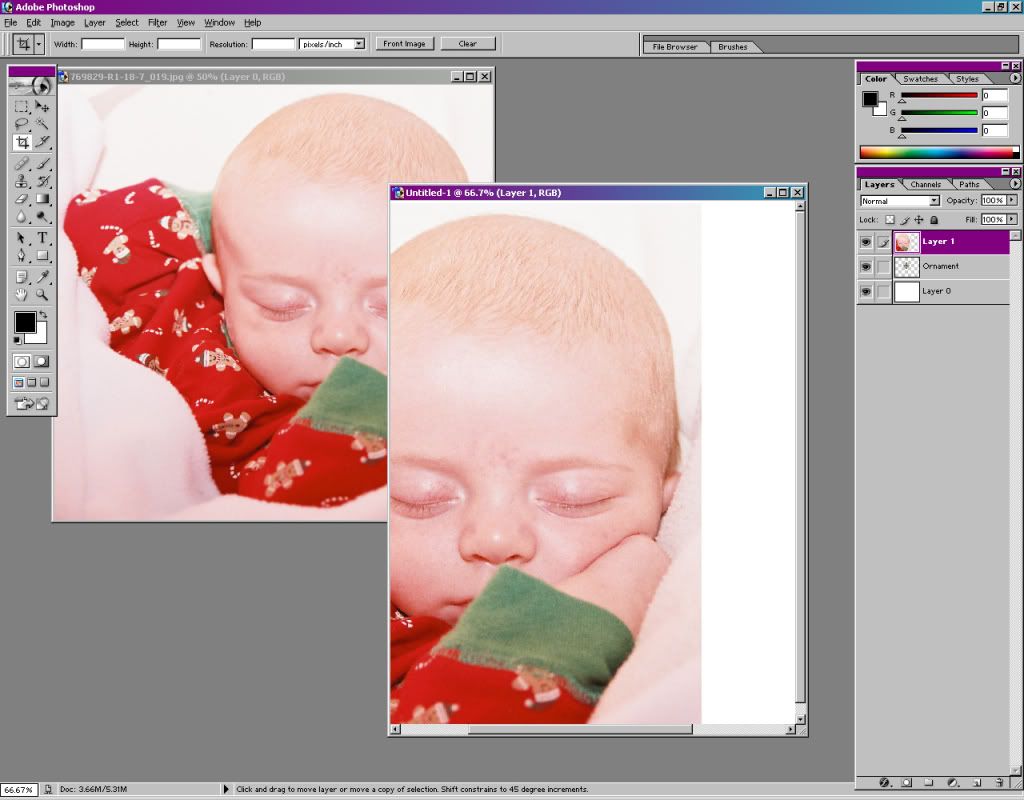
Now I drag my kid’s picture over to the blank canvas also, using the Ctrl+left click dragging action:
Step 5
Whoa! The picture is way too big. I’ll need to resize it. I use the Transform tool, which I access by holding Ctrl and T together. I can then drag the edges of the picture around until it’s the size that I want. Enter sets the size.
Step 6
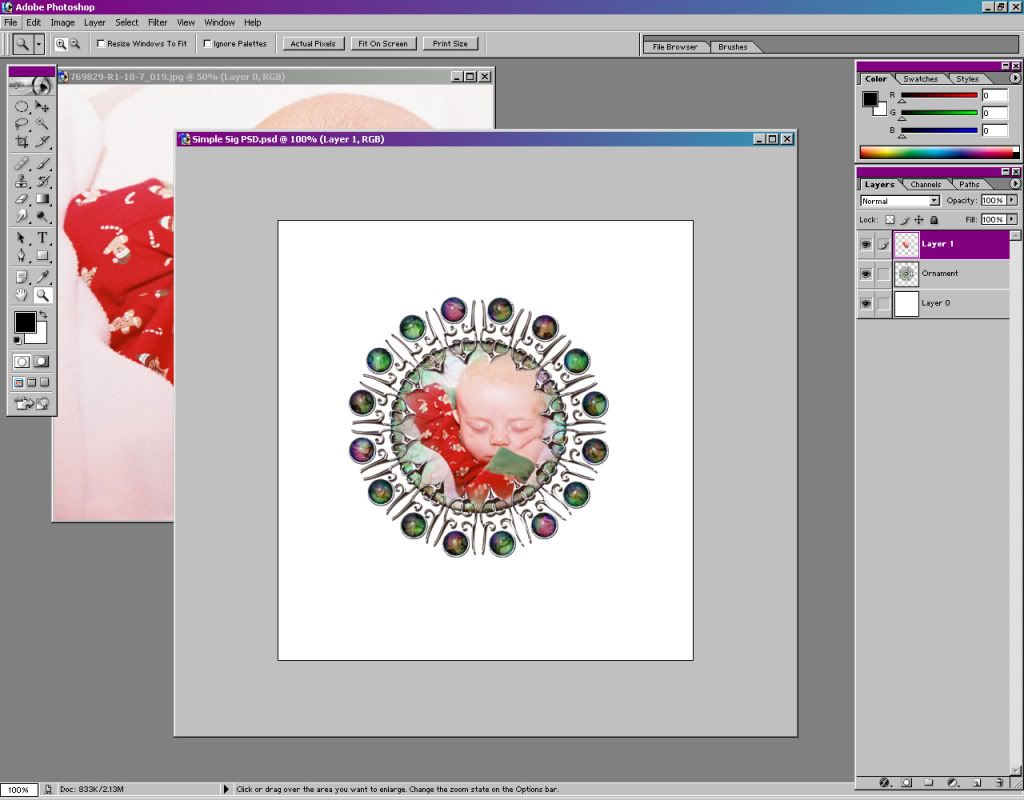
I center my kiddo's picture over the ornament. Note in the layers window on the right, there are now three layers: a blank white layer, a layer with the ornament, and a layer with the picture. If you like, you can right click on each layer and go to Layer Properties and name each layer something to make it easier to know which is which.
Now I want his picture to blend onto the ornament a bit, so there aren’t such sharp edges. I highlight the picture’s layer in the layer window. I use the eraser tool, set at a large brush with soft edges. Note at the top that I’ve got the tool at 59% opacity and 59% flow.
Step 7
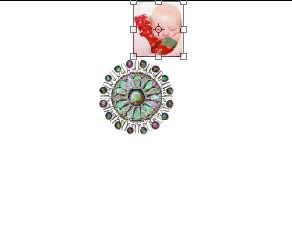
Ok, now I’ve got my picture where I want it on the ornament, and the edges are nice and blurred:
How's it looking?
Using the zoom tool, I’m going to zoom in close and start carefully erasing the picture so that the pretty parts of the ornament are showing better. Notice that I still have the picture layer highlighted in the layer window.
Step 8
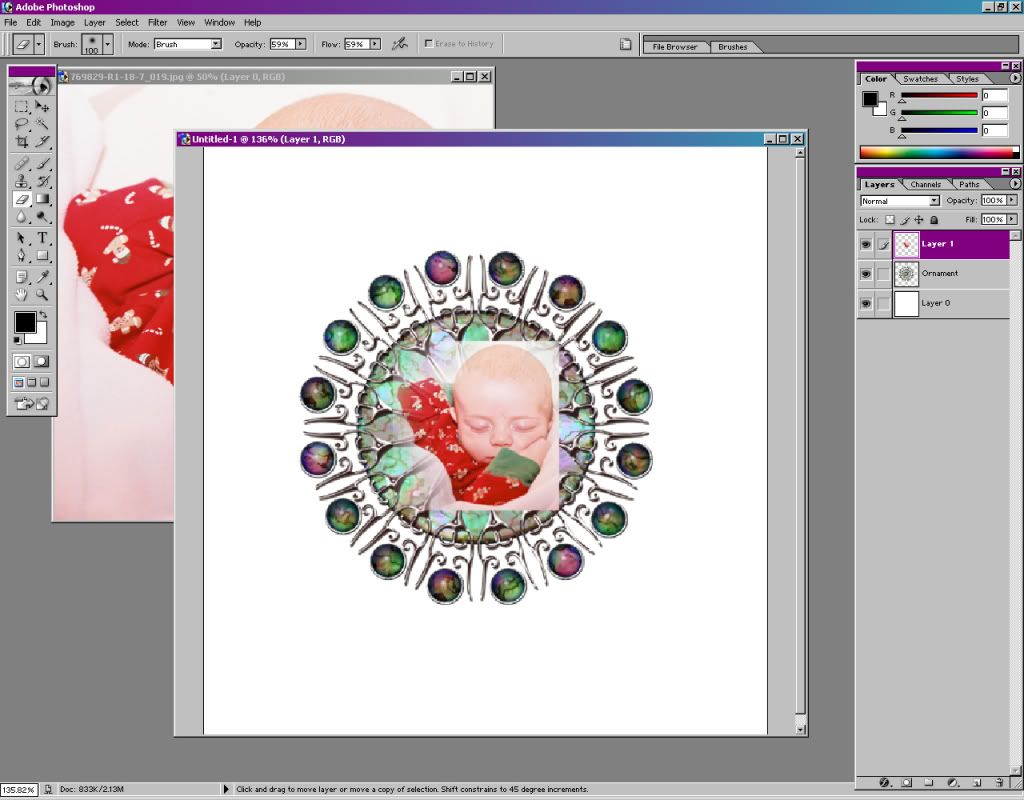
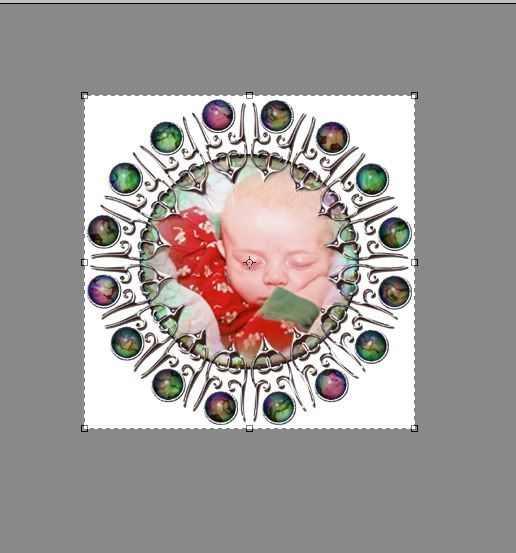
I work my way around the ornament, erasing bits of the picture. Now it looks like the ornament is holding in the picture:
That's better!
Me likey!
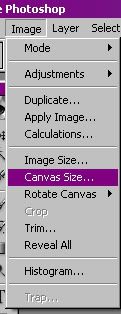
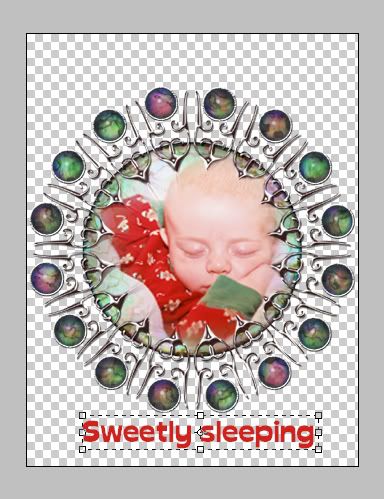
Ok, this looks pretty good! Now I want to add a little bit of text. But there isn’t enough room to put text under the ornament. So I’m going to make the canvas a little bigger. I go to View > Canvas Size:
Canvas Size
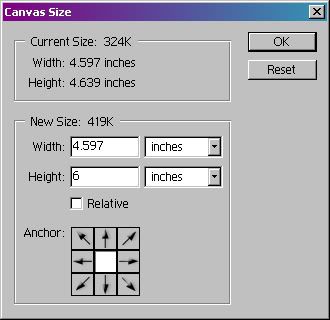
In this window I’m going to make the height a little bit bigger, so that I can add the text:
Changing the height
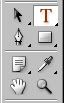
Now, I select the Text tool:
Text tool
And click underneath the ornament. I type in my text.
Step 9
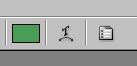
I don’t like the color of the text, and I want the text to tie in with the ornament. So I’m going to use the Color Picker tool:
Color Picker
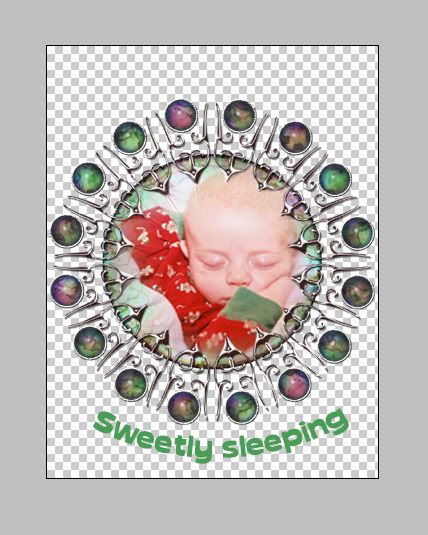
I click the tool on one of the green gems in the ornament. That gives me the exact color that I want. I highlight the text and click on the color that I selected, then hit Enter to change it.
Step 10
I think I’d like the text to flow more with the picture, so I’m going to add an Arc effect. I click the Text Effect button:
Adding an arc effect
And select “Arc” in the drop down menu. I adjust the sliders until the text looks the way I want it to look:
You will have to click each link to see the pictures of the steps.
If you have any questions, please don’t hesitate to ask! I can also be found on AOL IM at MaitriScraps, if anyone ever has a quick question about using Photoshop.
Making a Simple Siggy
Step 1
To the left are my tools; to the right I have my color palette and layer windows visible.
I’m going to use the Crop tool to cut out just the part of the picture that I want to use:
Step 2
Now I’m going to go to File > New and create a new picture with a blank white background:
Step 3
Now I want to open up the file that has the graphic I want to use with my siggy. In this case, it’s a pretty little ornament. I open the file and, while holding down the Ctrl key, left click and drag the ornament to the new blank picture:
Step 4
Now I drag my kid’s picture over to the blank canvas also, using the Ctrl+left click dragging action:
Step 5
Whoa! The picture is way too big. I’ll need to resize it. I use the Transform tool, which I access by holding Ctrl and T together. I can then drag the edges of the picture around until it’s the size that I want. Enter sets the size.
Step 6
I center my kiddo's picture over the ornament. Note in the layers window on the right, there are now three layers: a blank white layer, a layer with the ornament, and a layer with the picture. If you like, you can right click on each layer and go to Layer Properties and name each layer something to make it easier to know which is which.
Now I want his picture to blend onto the ornament a bit, so there aren’t such sharp edges. I highlight the picture’s layer in the layer window. I use the eraser tool, set at a large brush with soft edges. Note at the top that I’ve got the tool at 59% opacity and 59% flow.
Step 7
Ok, now I’ve got my picture where I want it on the ornament, and the edges are nice and blurred:
How's it looking?
Using the zoom tool, I’m going to zoom in close and start carefully erasing the picture so that the pretty parts of the ornament are showing better. Notice that I still have the picture layer highlighted in the layer window.
Step 8
I work my way around the ornament, erasing bits of the picture. Now it looks like the ornament is holding in the picture:
That's better!
Me likey!
Ok, this looks pretty good! Now I want to add a little bit of text. But there isn’t enough room to put text under the ornament. So I’m going to make the canvas a little bigger. I go to View > Canvas Size:
Canvas Size
In this window I’m going to make the height a little bit bigger, so that I can add the text:
Changing the height
Now, I select the Text tool:
Text tool
And click underneath the ornament. I type in my text.
Step 9
I don’t like the color of the text, and I want the text to tie in with the ornament. So I’m going to use the Color Picker tool:
Color Picker
I click the tool on one of the green gems in the ornament. That gives me the exact color that I want. I highlight the text and click on the color that I selected, then hit Enter to change it.
Step 10
I think I’d like the text to flow more with the picture, so I’m going to add an Arc effect. I click the Text Effect button:
Adding an arc effect
And select “Arc” in the drop down menu. I adjust the sliders until the text looks the way I want it to look:
Arc window
Arc window 2
I think I’m almost done! The last thing I want to do is trim any excess space, to make sure there aren’t any stray pixels hanging around. I go to Image > Trim:
Trim
I think it looks great! Now, in order to use it on the Internet, I have to save it as either a GIF or a JPG. A GIF has less color quality, but you can have a transparent background. A JPEG has better color quality, but you can’t have a transparent background; it will automatically give your picture a white background if you save it as a JPG.
I go to File > Save For Web and save it as a GIF.
I upload it to Photobucket. The site assigns a URL for linking to the picture in my signature. I plug in that URL in the Edit Signature section of my Control Panel at The Mommy’s Playbook, and voila!
A cute, simple siggy!
If you have any questions about this tutorial, or have a specific thing you’d like to see a tutorial about, please let me know.
No comments:
Post a Comment