This tutorial walks you through creating a set of coordinating paper and elements, using a specific layer style, in Photoshop CS2. This tutorial shows you how to use custom shapes, layer styles, and blending options. At the end of the tutorial is a freebie.
Questions or suggestions for improvement can be sent to me at maitri@mchsi.com or via AOL IM at MaitriScraps.
The layer styles that I’m using today are from www.actionfx.com. We will create a paper, a frame, a brad, a paper clip, and a button.
First, we’ll create the paper.
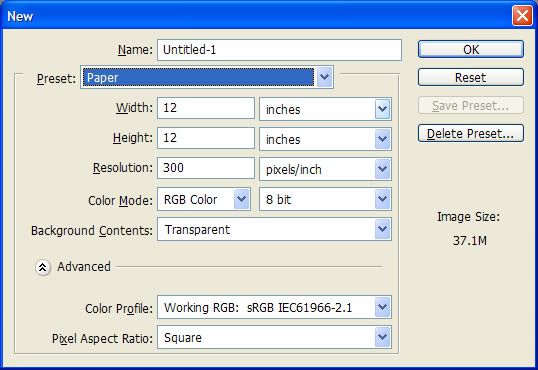
Open a document that is 12 inches by 12 inches, 300 dpi, white background (or a transparent background and fill it with white):
Step 1
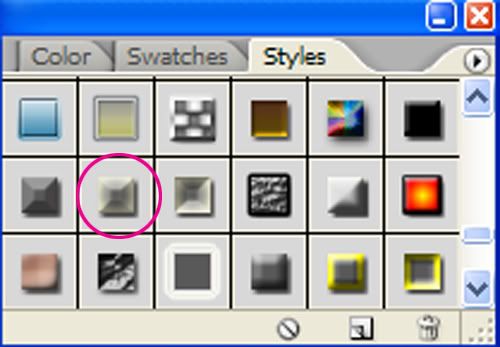
I’ve loaded the style that I want to use, fourth from the end:
Style Pallete
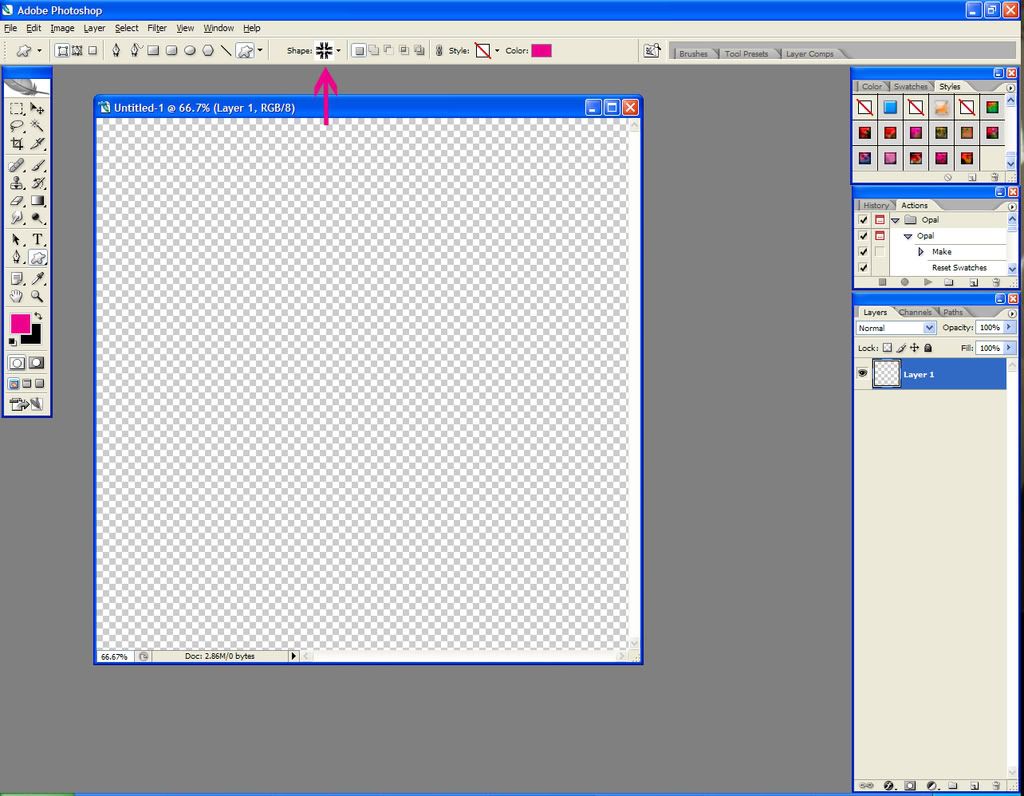
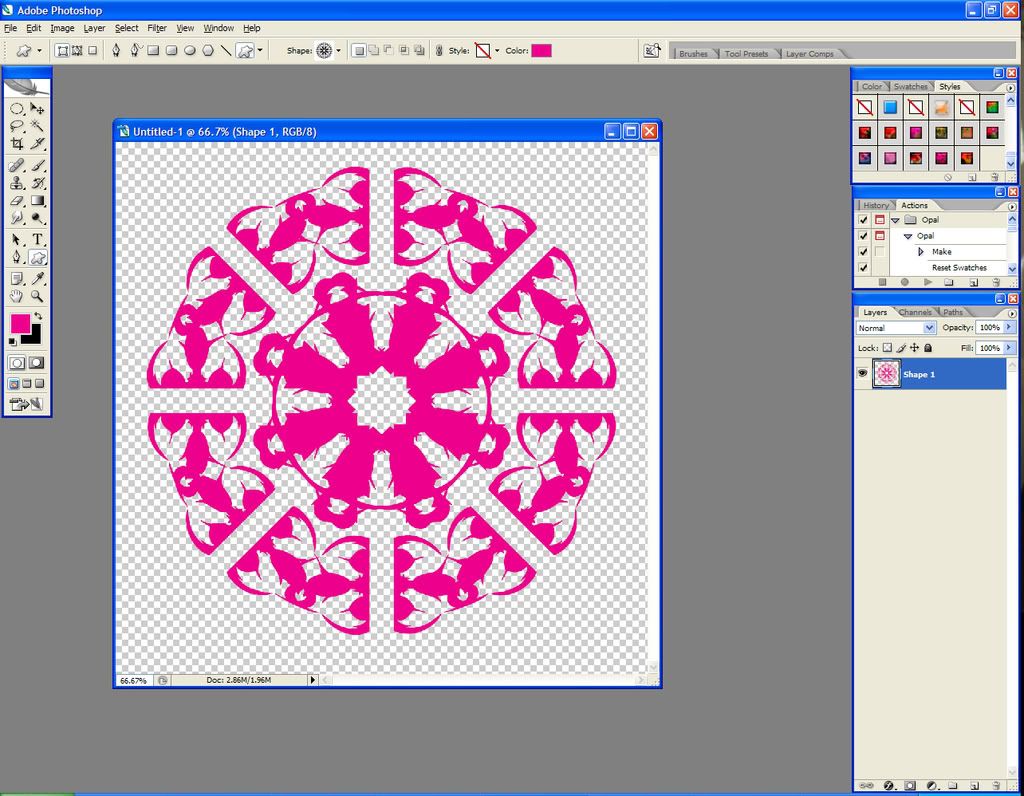
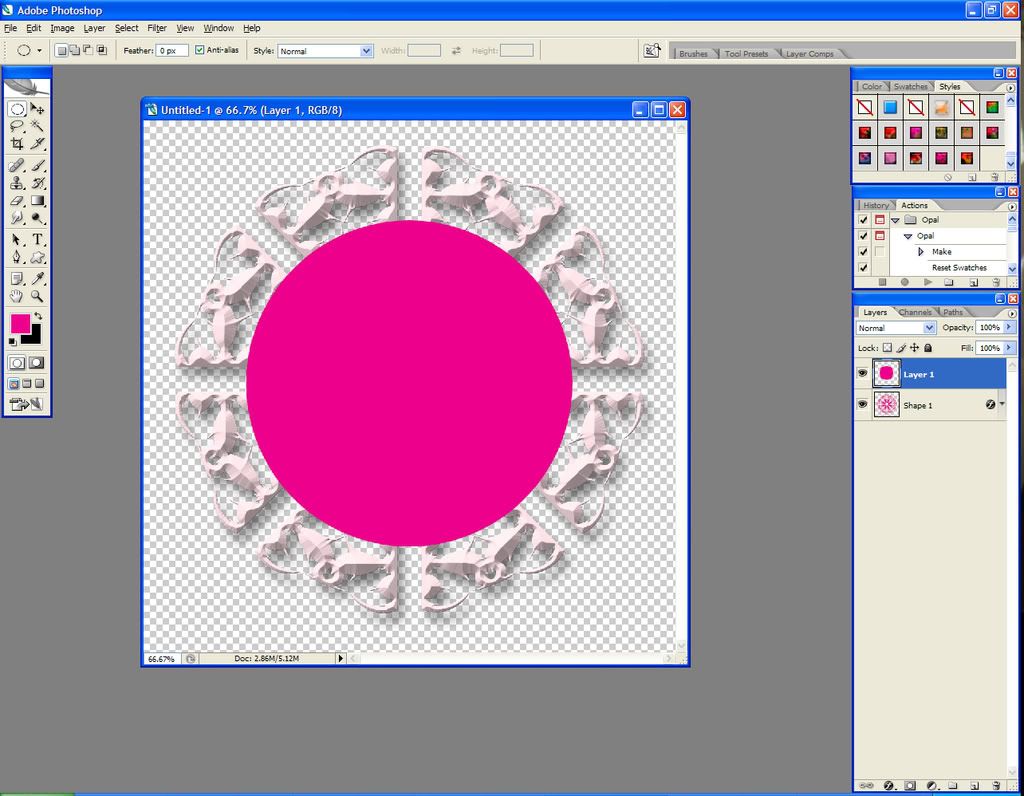
So here’s my working surface, with the style that I want (indicated in pink):
Let's begin!
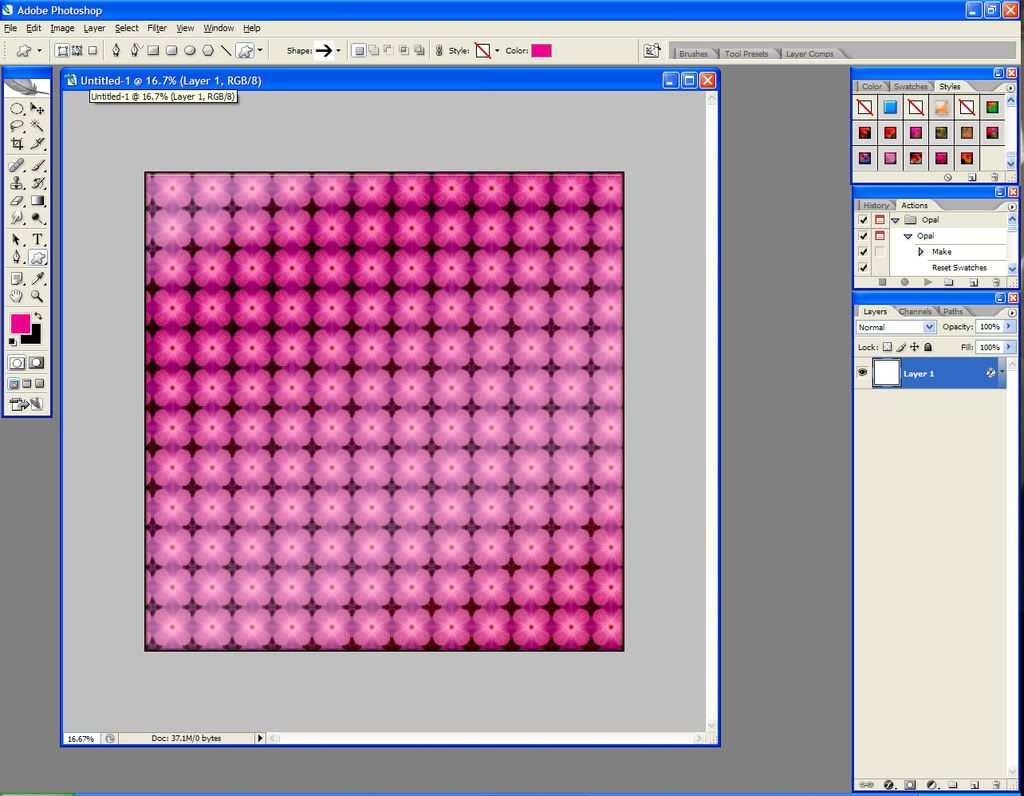
I click on the style to apply it to the whole page and here’s what I get:
Step 2
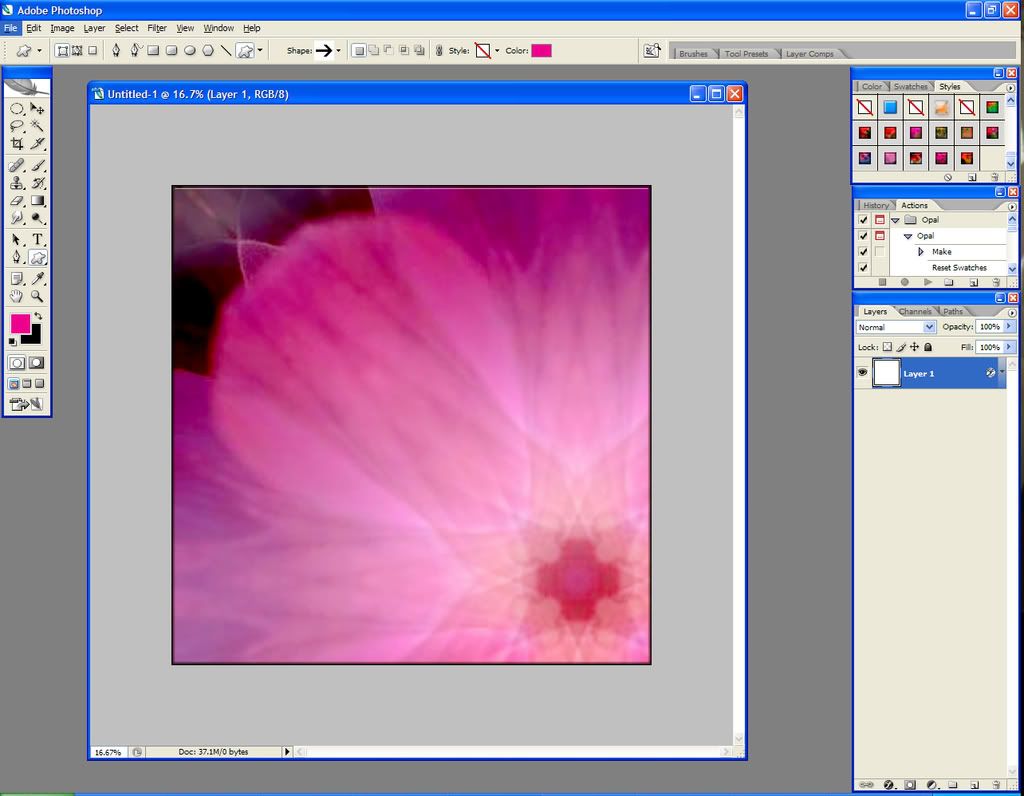
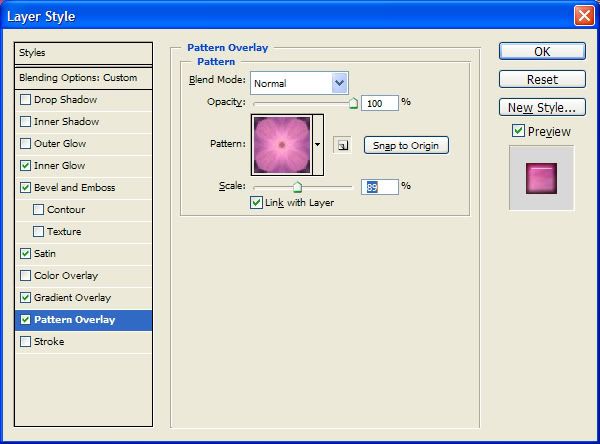
I don’t care for that much of a tiled effect, so I want to adjust the size of the pattern. I click on “Add a Layer Style” and go to the Pattern tab. I adjust the slider all the way to the right, to make the pattern as large as possible:
Step 3
That’s much better! I like the off-center flower, that’s pretty.
Nice!
I save the .psd version in case I want to go back and edit it later. Then I save it as a .jpg for the final version. It’s that simple!
Ok, let’s create some elements to go along with our paper.
Create a new document, 1000 pixels by 1000 pixels, 300 dpi, transparent background:
Step 4
Hit the “U” key and that will open up the custom shapes menu at the top of your page:
Shape Menu
Click the drop down arrow by the menu to see which shapes you have loaded.
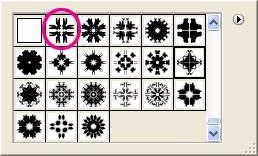
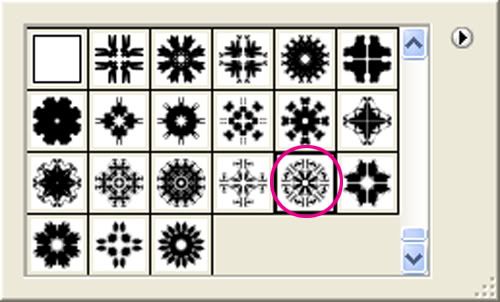
The shape I’m using is also from www.actionfx.com. Here’s my selection:
Step 5
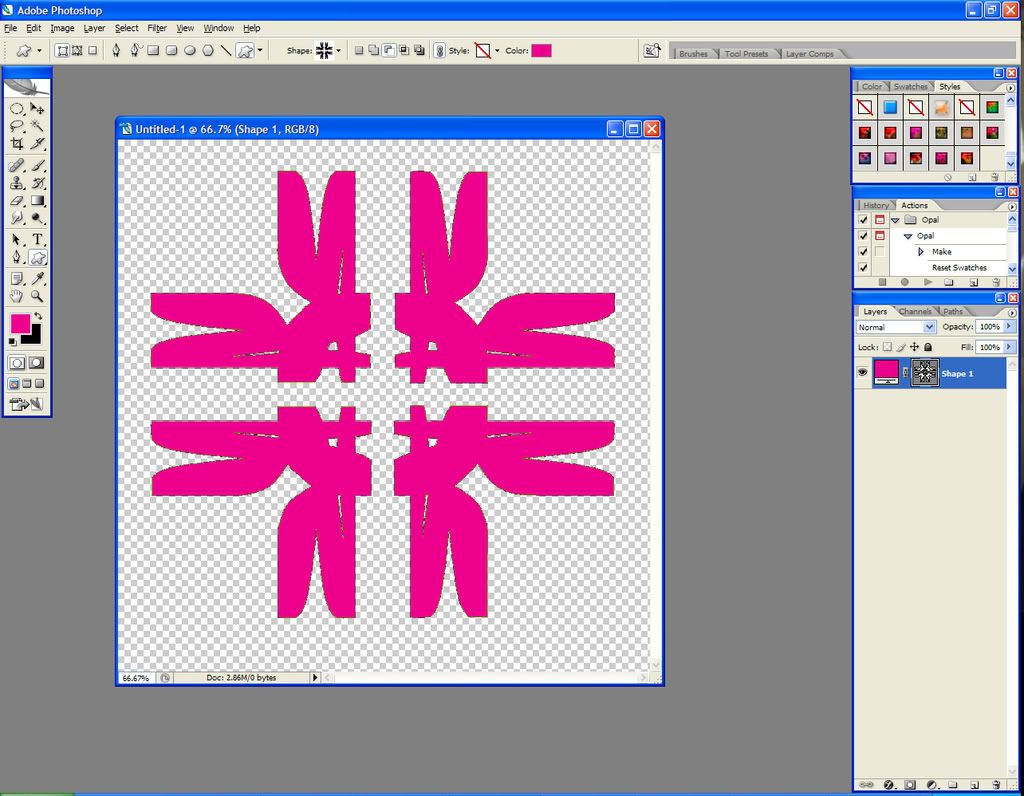
I select my shape and then click and drag to create the shape on my canvas. Note that it automatically fills the shape in with the default foreground color that I have selected (in this case, pink):
Shape
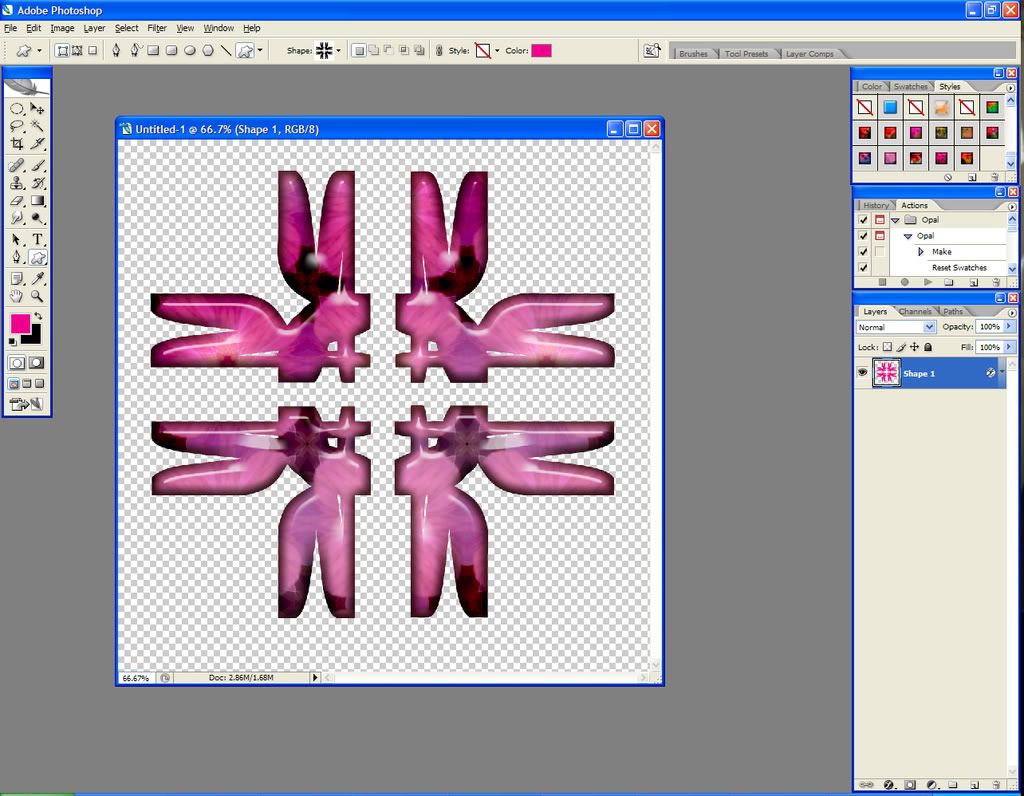
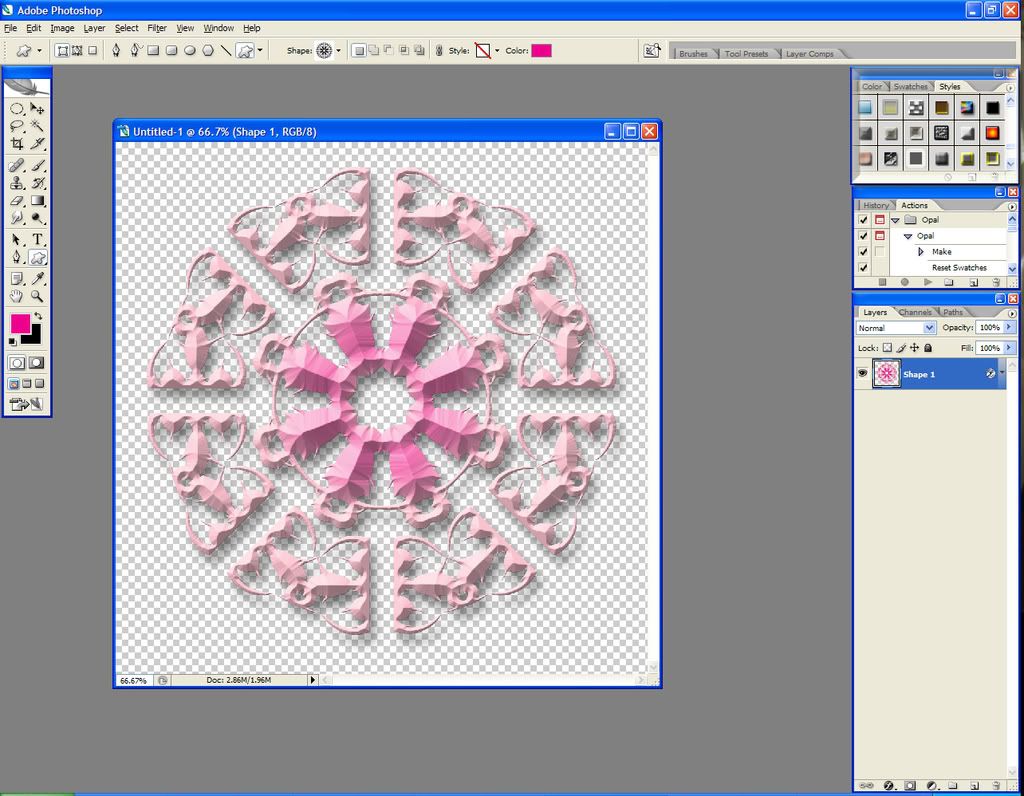
Which is fine, because I’m going to use my layer style anyway. Rasterize the shape layer by right clicking on the layer in the layers palette and going to “Rasterize Shape.” Apply the layer style:
Step 6
I’m going to play around with the pattern sizing again, until I have it the way I want it.
Step 7
Here we go:
Lookin' good!
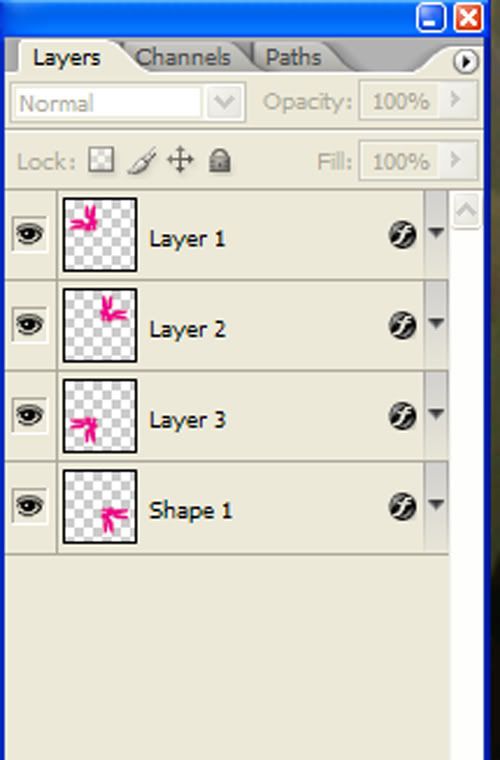
Ok, I want to use this shape to create a custom frame. To do that, I have to move the pieces around. I use the rectangular marquee to select each corner, and cut it into its own layer. When I’m done, I have four layers, each containing one corner:
Step 8
Using the Transform tool (Ctrl+T), I move each corner around until it forms a layer for my frame. When I have them all positioned the way I want them, I merge the layers:
Step 9
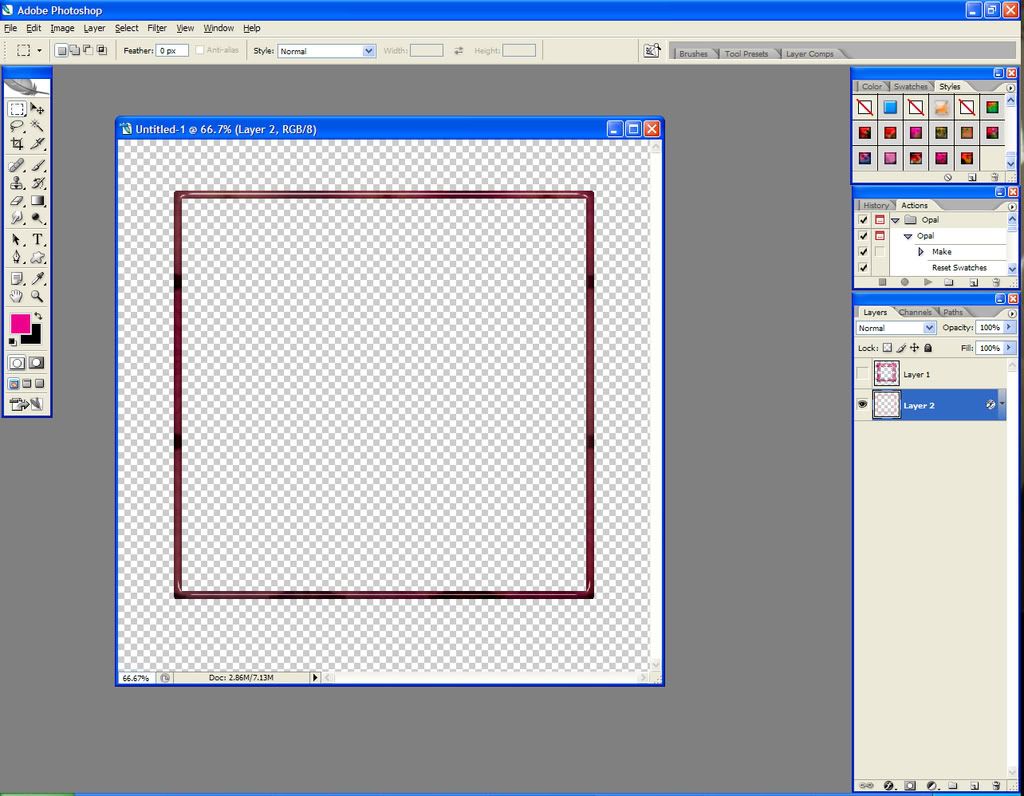
Cool! Let’s add a connecting line to bring it all together. I use the rectangular marquee tool and a new layer positioned below my frame. I stroke my marquee line at 10 pixels, center. I’m left with this:
Step 10
So here’s my finished frame! You likey?
Frame
I save the .psd version, of course, and then save it as a .png. You want to save it as a .png because that leaves the background as transparent. If you were to save it as a .jpg, it would have a white background, which wouldn’t be good for using the element in a variety of digiscrapping utilities. I always save my papers as .jpg’s, and my elements as .png’s.
Now, hmm, let’s do a brad.
Create a new document, 1000 pixels by 1000 pixels, 300 dpi. I’m going to use a circular shape from the custom shapes menu (again, from www.actionfx.com):
Step 11
I rasterize the shape, as before.
Creating a brad
I want this shape to look vaguely metallic, so I choose a layer style that looks like beaten silver. Because the program automatically filled my shape with pink when I created it, the end result looks a bit like pink metal. Here’s the style I’m using:
Step 12
And the result:
Metal brad base
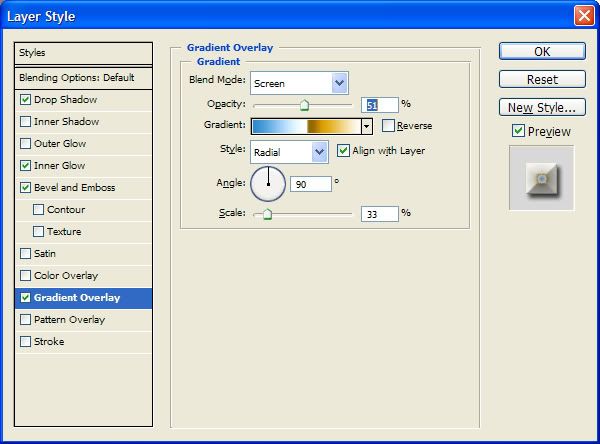
Hmm, that’s pretty, but it’s not metallic enough for my tastes. So I’m going to add a gradient in the Blending Options:
Gradient
Ok I like that effect. Now I’m going to add the top of the brad. Holding the Shift key and using the Elliptical Marquee, draw a perfect circle on a new layer.
Step 13
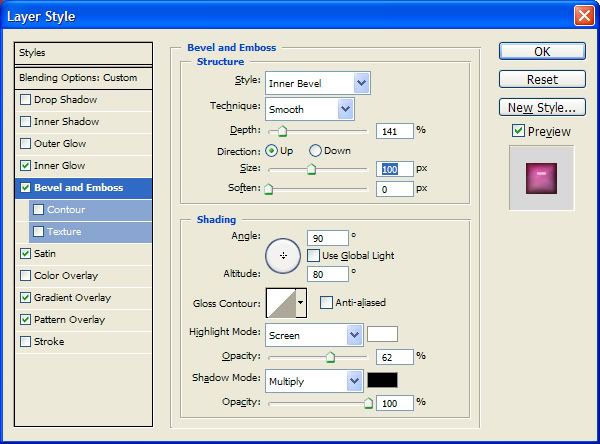
Fill it with whatever color you have on default. Now apply the layer style. Adjust the pattern to however you like it. We’re going to adjust the bevel setting so that it looks more like a pin.
Bevel
This is just a matter of trial and error; just play with the settings until it looks the way you want it to look.
Brad
Voila!
Ok, paper’s done, frame’s done, brad’s done. How about a paper clip?
Again, create a new document at 1000 pixels, 1000 pixels, 300 dpi, transparent background.
We’re going to start with the Rounded Rectangle custom shape. Find it here:
Rounded Rectangle
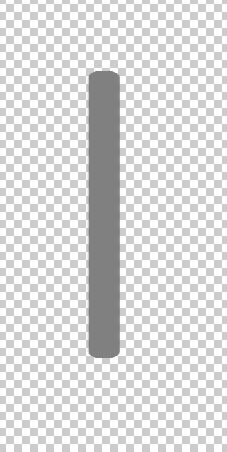
Using a medium gray color, create a shape like so:
Step 14
I am making it longer than you might necessarily do, for ease of this tutorial. Here’s a closer look:
Step 14a
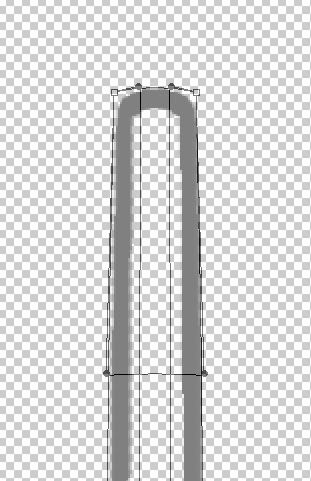
Use the Edit > Transform > Warp tool to round the corners a bit:
Step 15
Now, using the rectangular marquee tool, make a selection like so:
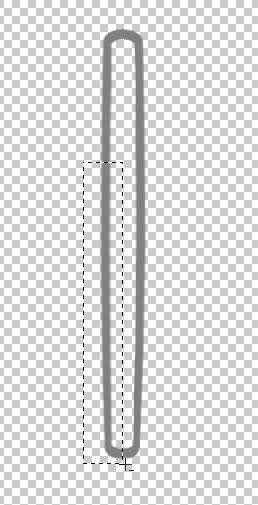
Step 16
Hit your V key, or select the Move Tool, and nudge the selection to the right a few pixels:
Step 17
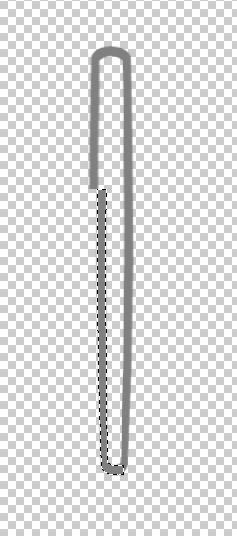
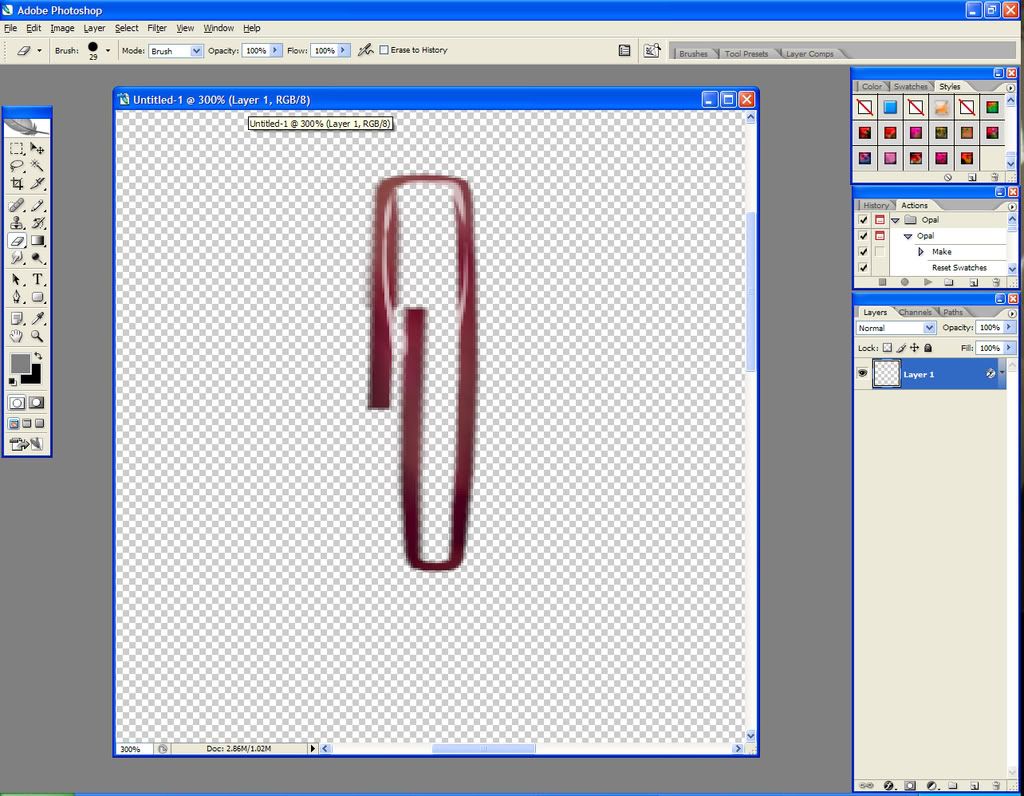
Now use the pencil tool (or copy/paste part of the clip) to bring the left side down:
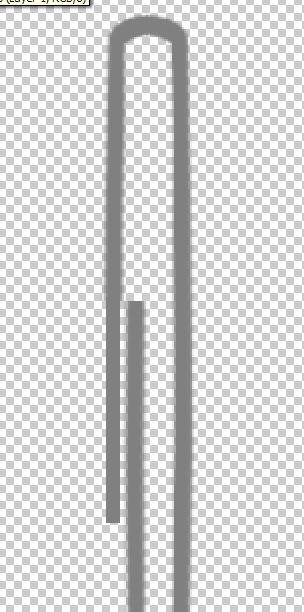
Step 18
Add the layer style:
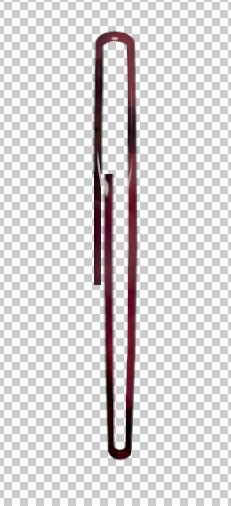
Step 19
I’m going to Transform (Ctrl+T) the clip to make it smaller. Here’s the finished element:
Step 20
Again, save the .psd, and then save the finished piece as a .png.
Our final element is a button. Again, 1000 pixels by 1000 pixels, 300 dpi, transparent background. Holding down the Shift key, using the Elliptical Marquee, draw a perfect circle and fill with any color:
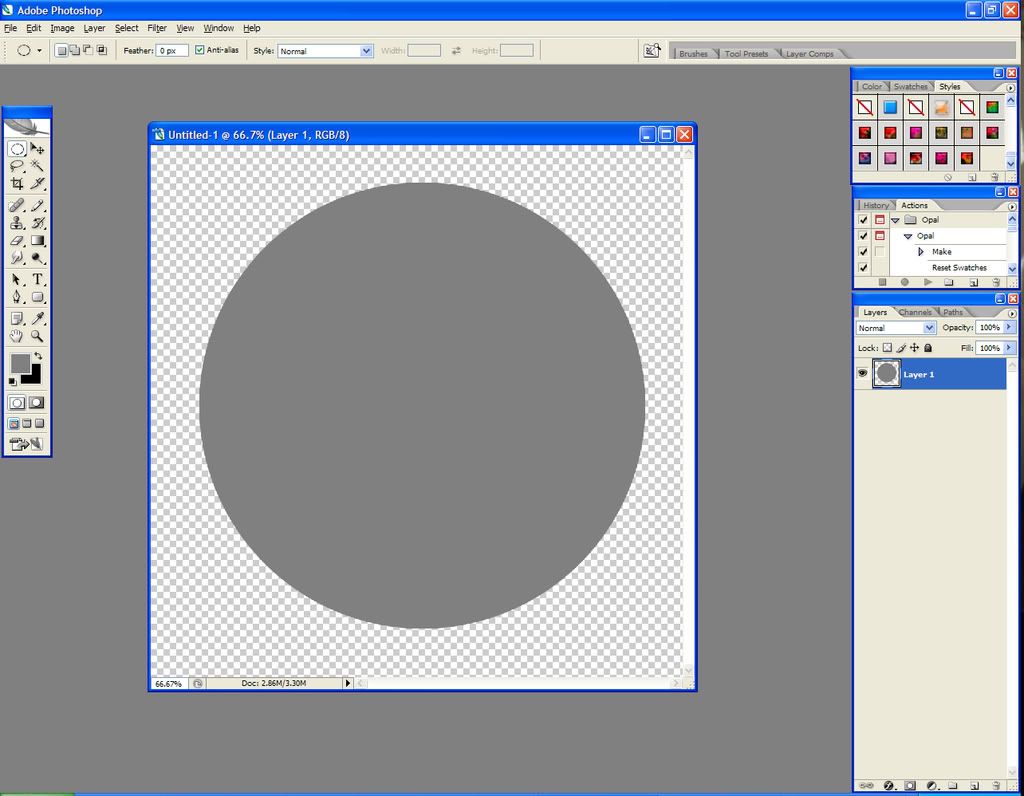
Step 21
Add the layer style. Duplicate the layer. Select the top layer (Ctrl + Left Click on the thumbnail picture in the layer). Go to Select > Modify > Contract and contract it by 30 pixels. Here’s what you have:
Step 22
Add a bevel to the outer edge layer:
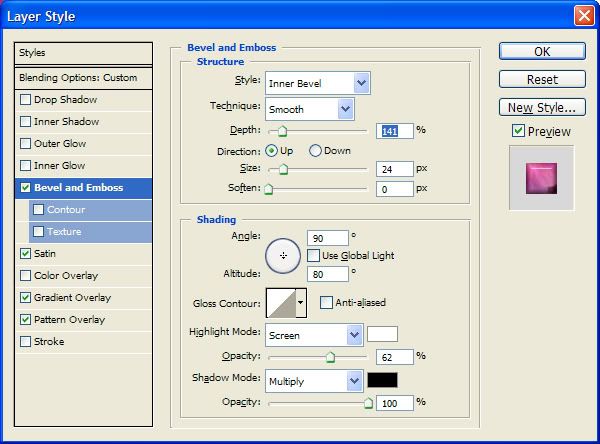
Step 23
Select the layer underneath. Use the Shift+Elliptical Marquee to draw a small perfect circle inside where you want one of your button holes to go. Hit Delete to clear. With the Move Tool selected, you can use your arrow keys to nudge the selection to the next location of a button hole, delete, then nudge it again. Do this until you have all 4 button holes cleared:
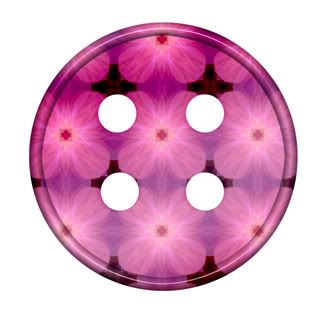
Step 24
Trim excess transparency, then save your .psd and .png versions.
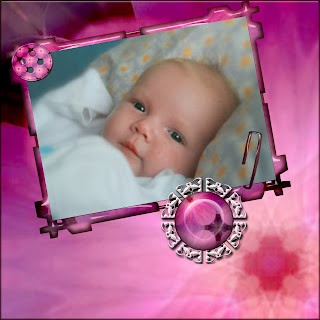
There we go! A paper, a frame, a brad, a paper clip, and a button, that all match in corresponding colors!
I hope you’ve enjoyed this tutorial and that it helps you in some way. Questions or comments are always welcome.
The kit that I just created is available for download here:
Zip File
And here is an example picture using the elements that I just created. I’m using a stock photo from StockXpert here.
No comments:
Post a Comment