
Here’s a quick and dirty way to make a patterned alpha in CS2, two ways: the first is one file with every letter included; the second is each letter being in its own file. There are two different ways that digiscrappers like to buy alphas. Some like to have all of the letters in one file, and they just copy/cut what they need and move it onto their digiscrap page. This is the preferred method for those who don’t have a lot of virtual memory to open lots of files at one time, or don’t want to open individual files for all of the letters that they need. Some digiscrappers like to have individual files for each letter, so that they don’t have to copy/cut.
I personally prefer to make just one file, because it’s easier and I’m lazy. But I do both, to please my customers.
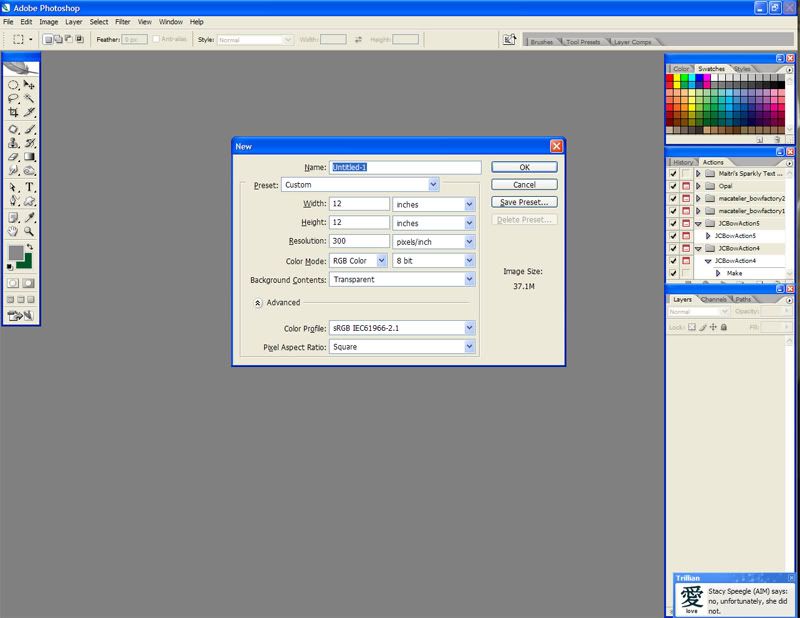
Start with a new file with these settings:
Step 1
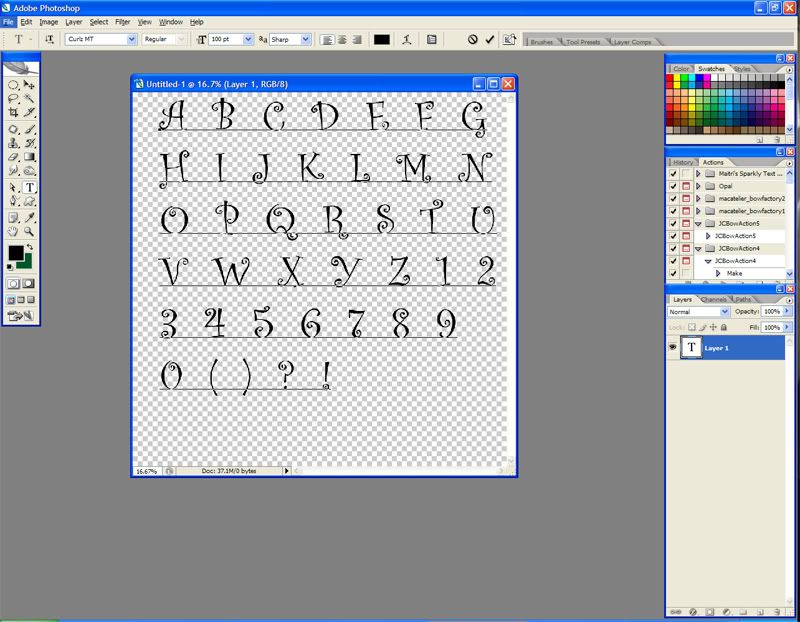
Choose your font and set your font size to 100. Type out the alphabet to fit in the page:
Step 2
I usually try to include at least all of the letters, all of the numbers, and a few special characters like the question mark, the exclamation point, and the parentheses.
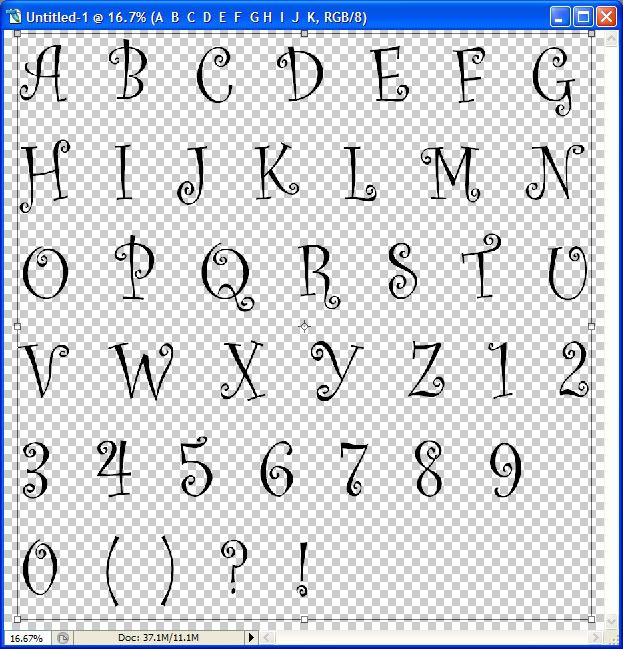
Using the Transform (Ctrl+T) tool, enlarge the letters/numbers until they fit the page better. I also like to right click and choose to bold the letters, if not already done.
Step 3
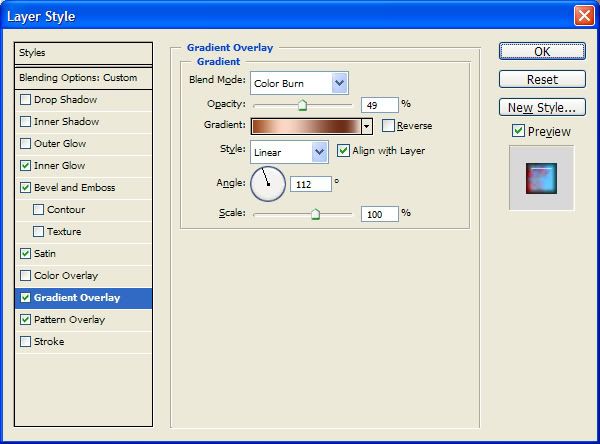
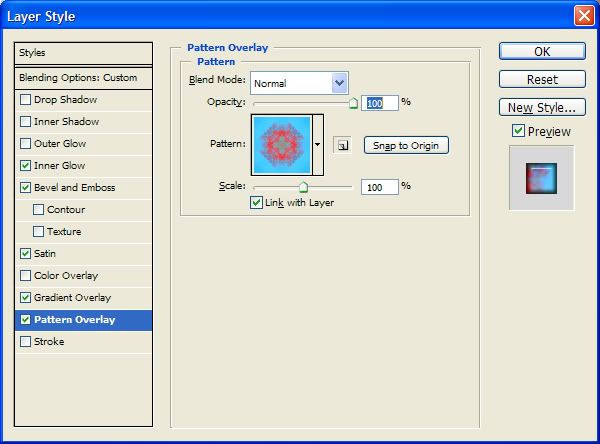
Now I’m going to apply some settings to the letters.
Setting 1
Setting 2
Setting 3
Setting 4
Setting 5
The pattern is from Actionfx.com (an excellent resource for shapes, styles, and patterns).
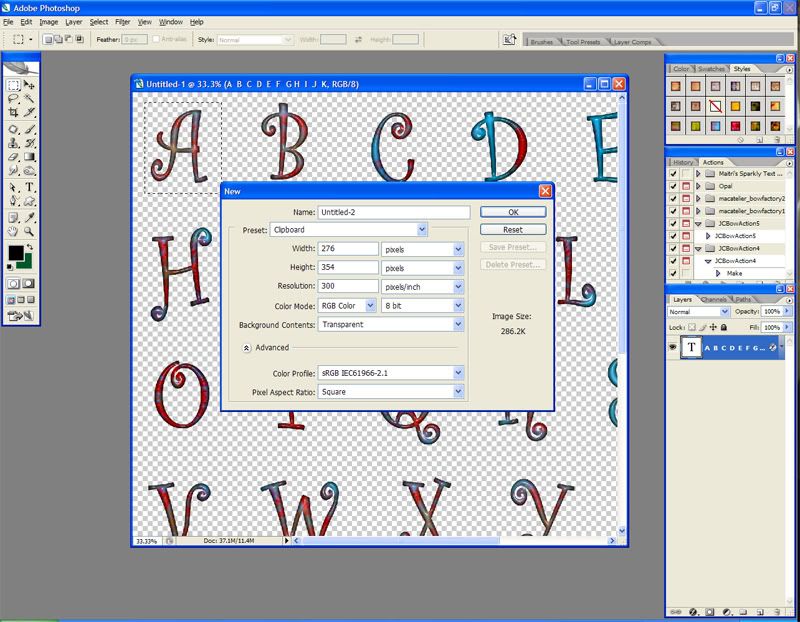
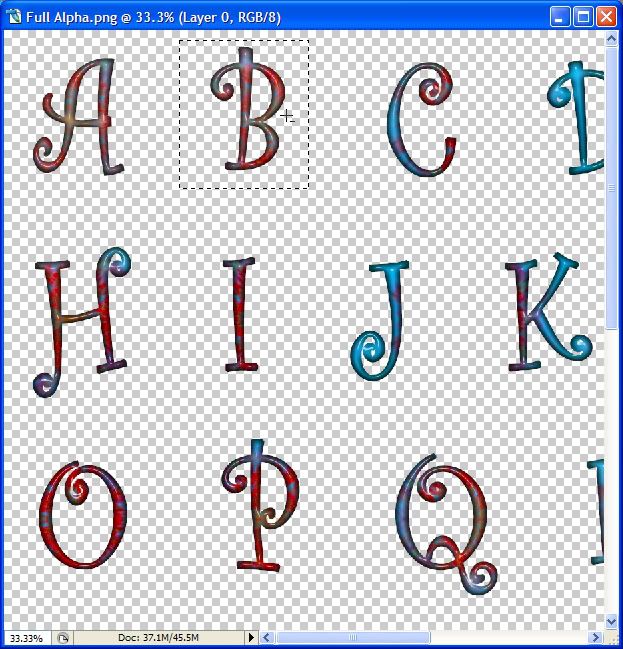
Now, save the file as a .png (I named mine “Full Alpha.png”). Close your .psd and open the .png file. With the rectangular marquee tool, make a selection around your A and copy (Ctrl+C). Go to File > New and the dialog box will automatically have the same dimensions as your selection that you copied:
Step 4
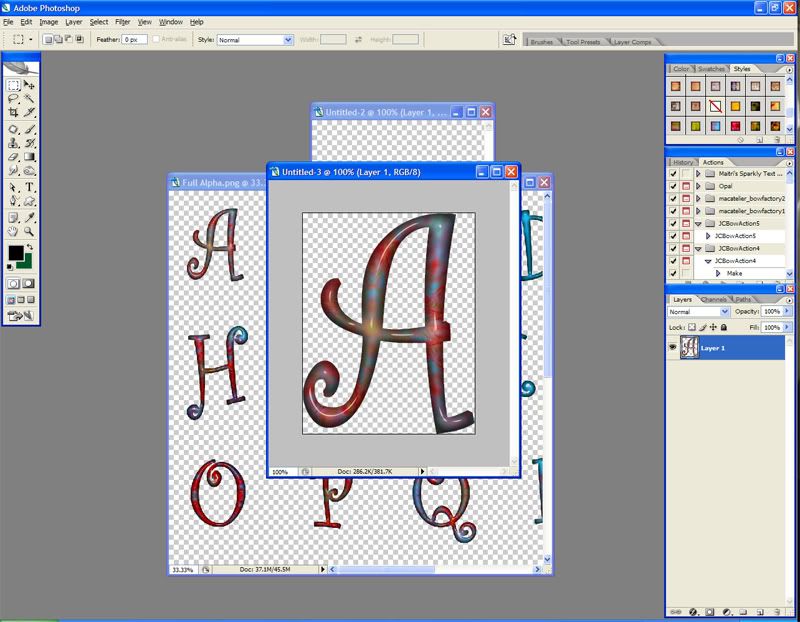
Paste your letter A into the new file. It should fit the edges exactly.
Result of Step 4
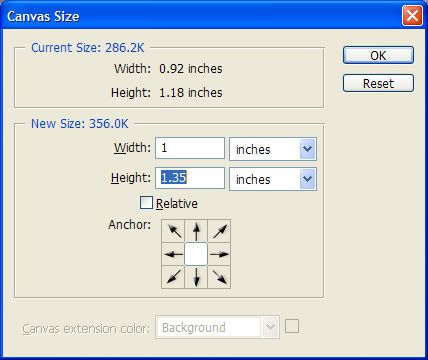
Increase your canvas size a bit:
Step 5
Create a new layer and move it below your A layer. Fill it with whatever color you like. Add blending options the same as before, except make the pattern as small as possible:
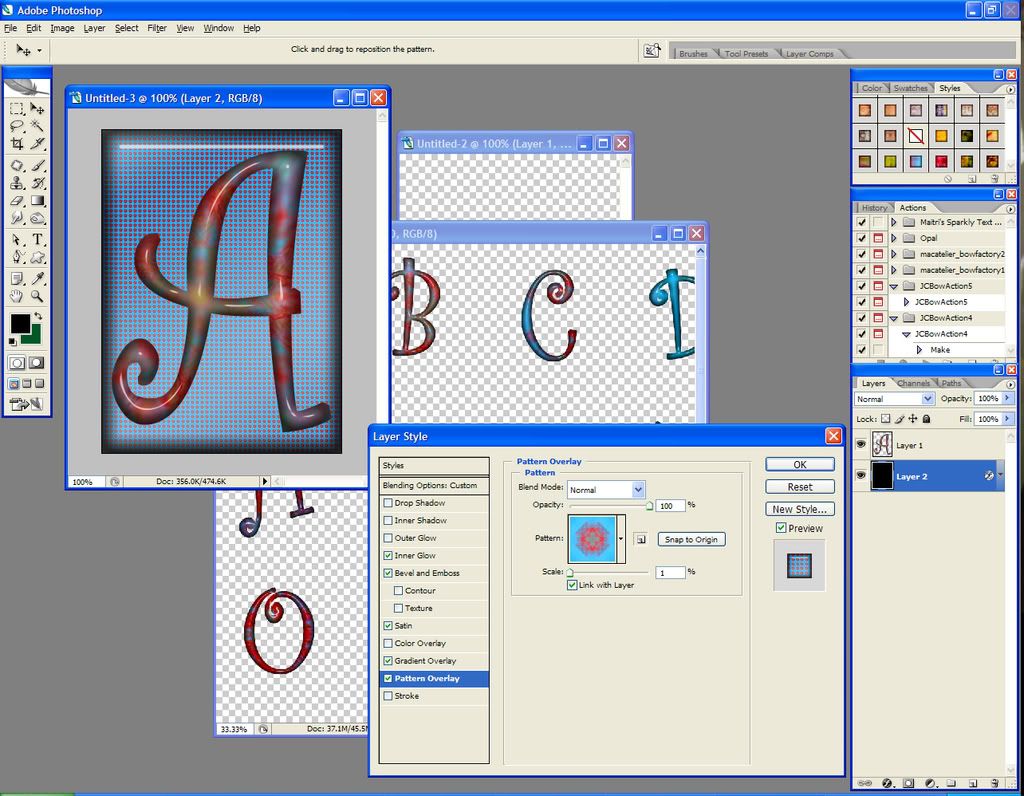
Step 6
Save this as its own .png file (I called mine A.png – I am creative, I know).
Go back to your file that has the whole alpha on it, and move the selection around your A to the B. Do not deselect; use the same selection size.
Step 7
Copy (Ctrl+C) and go to your other file that has the tile you created. Hide the “A” layer and then Paste (Ctrl+V):
Step 8
Name this file something like B.png.
Continue doing this with all of your individual letters, numbers, and symbols from your full alpha file. Save each one as its own .png file.
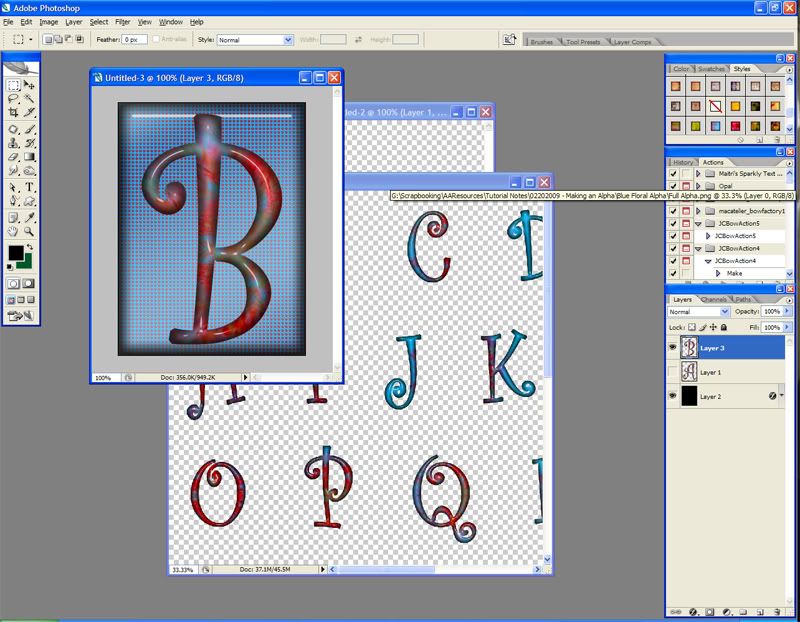
Here’s an example of mine halfway through; you can see on the right, that I have a bunch of text layers hidden. Just keep hiding them and pasting new letters in. You’re not going to keep the .psd of this one, so it doesn’t matter.
Halfway Done!
That’s all there is to it! I now have a Full Alpha.png file, and individual .png files of each letter, each number, and each symbol.
Here is the zip file of the alpha that I just created:
Maitri Blue Floral Alpha
I hope you enjoy using it, and creating your own alphas. Play around with patterns and textures – you’ll get some amazing results!
If you have any questions about this tutorial, please contact me via email (maitri@mchsi.com) or via AOL IM: MaitriScraps.
Happy Scrapping!
No comments:
Post a Comment