
Tutorial – How to Create Your Own Textures in Photoshop CS2
This tutorial will show you how to use your own fabrics to make textures in Photoshop CS2. I’ll use the Extract tool to remove unwanted parts of a picture, and define patterns and make sets.
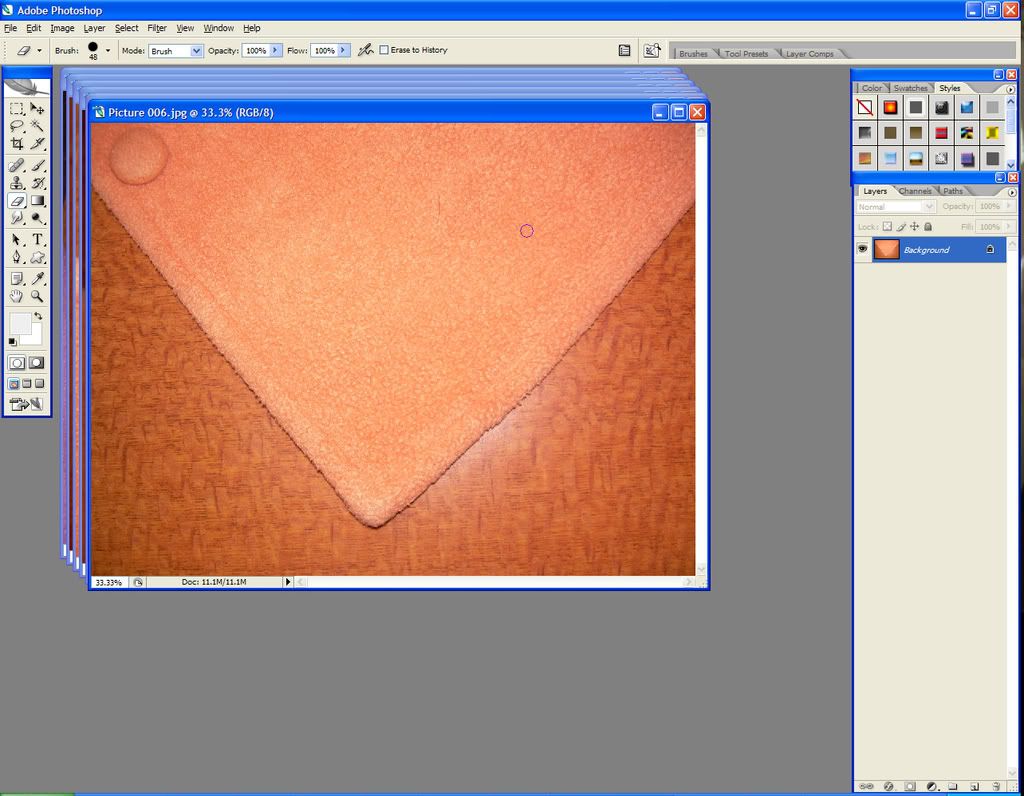
I have taken pictures of a fabric sample (in this case, a fleece coat) and scanned the pictures onto my computer. Here is one of the pictures:
Original Picture
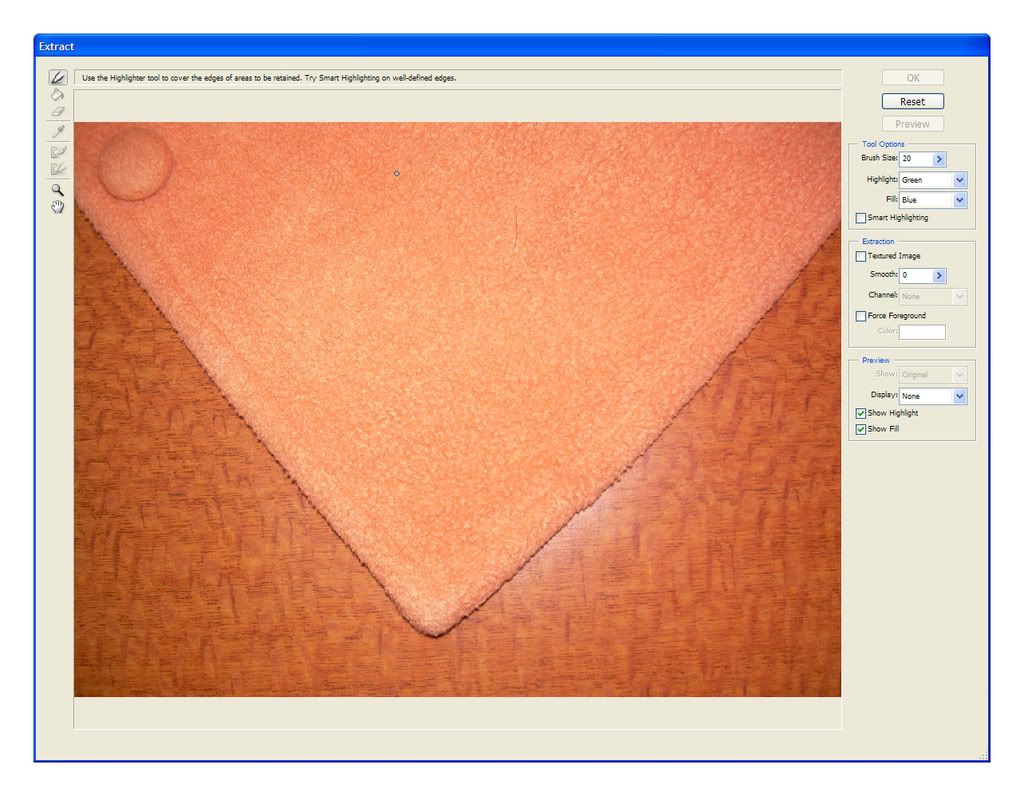
Now, I want to extract just the fabric part. I go to Filter > Extract and this is the dialog window:
Extract
First I need to zoom in close to see the edge of my fabric:
Extract Window - Zoom
Now I’m going to use the Highlighter:
Extract Window - Highlighter
and click along the edge of my fabric to select it. Hold down the Shift key to make a solid line between click points.
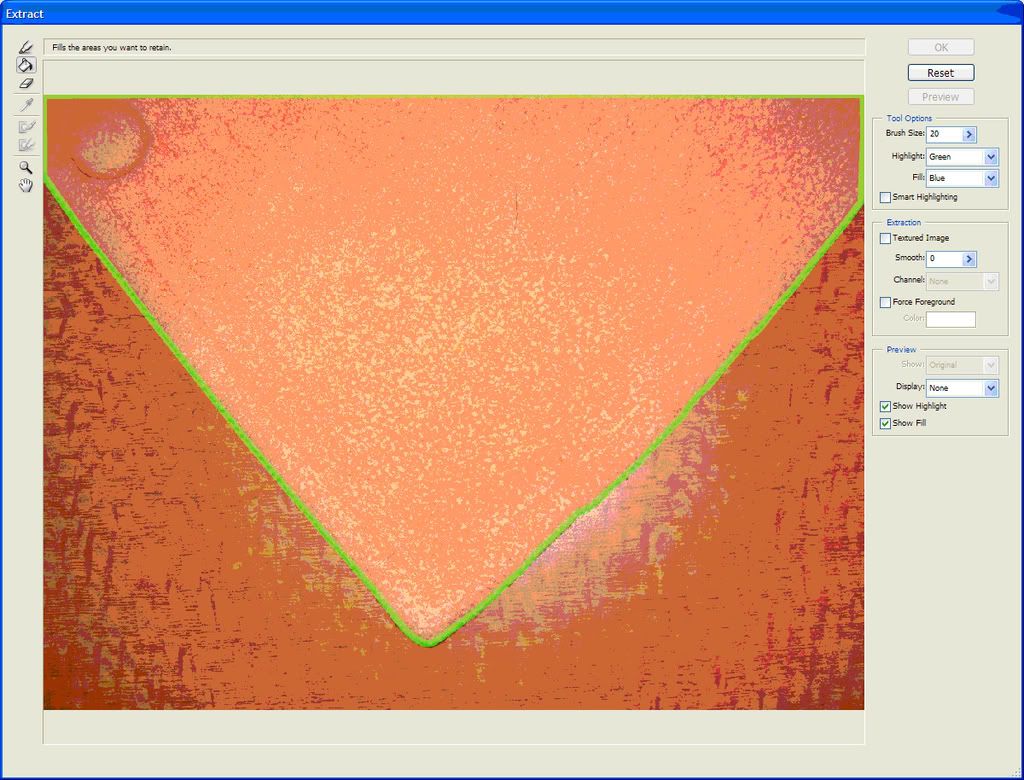
Here it is with the entire edge selected:
Extract Window - Highlighting the Edge
Now I’m going to use the Fill bucket and click on my fabric to color it:
Extract Window - Fill
I click “Ok” and here’s my result:
Extract Result
And that’s a simple and easy way to extract something from a picture and preserve the edges. I could have just erased the background, but I wanted to preserve the soft edge of the fleecy fabric.
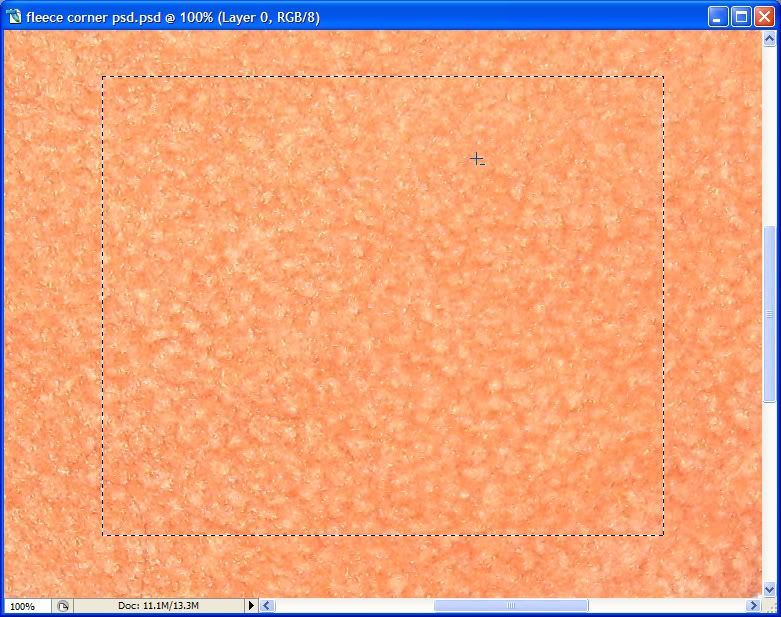
Now I’m going to define the fleece as a pattern. I want to zoom in closely and make a rectangular selection using the marquee tool:
Defining Pattern
I go to Edit > Define Pattern and choose a name for this pattern. I’m going to call it “Orange Fleece 2.”
So now the pattern is saved!
I am going to make several fleece patterns and I want to make a set. I go to Edit > Preset Manager, and select Patterns in the drop-down box. I see this:
Pattern Window
This is all of the patterns that I currently have loaded. Now, I don’t want to have all of these in my Fleece set, so I’m going to delete by shift+left clicking at the front and end of the selection that I want to remove (to highlight the range), and then clicking Delete.
Now I’ve just got my 2 fleece patterns. I’m going to select them both (hold down Ctrl to select multiple ones) and Save Set as Maitri Fleece Patterns.
Now that I have my patterns saved, I want to use one on a scrapbooking element to see how it looks.
Here’s a standard frame:
Blank Frame
I go to Blending Options in the Layers Palette and select Pattern Overlay. It automatically chooses one of my loaded patterns. Alternatively, you can use your Fill Bucket and fill the frame with a pattern instead:
Pattern Overlay
And here’s the resulting frame:
Patterned Frame
That looks pretty good! But fleece has rough edges, so I want to soften up the edges of my frame a little, to make it look more like it’s made of fleece. I hold Ctrl and left click on the thumbnail in the layers palette to select just the frame. Then I go to Select > Modify > Contract and contract it by 3 pixels.
Select > Modify > Contract
I go to Select > Invert Selection to select the outer edge and middle (the part that is not colored).
I go to Filter > Blur > Gaussian Blur and lay on a light blur of 1. This makes the edges soft:
Gaussian Blur
And there we have it! A frame that looks like it’s made out of orange fleece. Cute!
Here’s the download link to download the frame that I just created:
Fleece Frame
I hope this tutorial has been helpful. If you have any questions or comments/feedback, please feel free to email me at maitri@mchsi.com, or IM me at MaitriScraps on AOL IM.
This tutorial will show you how to use your own fabrics to make textures in Photoshop CS2. I’ll use the Extract tool to remove unwanted parts of a picture, and define patterns and make sets.
I have taken pictures of a fabric sample (in this case, a fleece coat) and scanned the pictures onto my computer. Here is one of the pictures:
Original Picture
Now, I want to extract just the fabric part. I go to Filter > Extract and this is the dialog window:
Extract
First I need to zoom in close to see the edge of my fabric:
Extract Window - Zoom
Now I’m going to use the Highlighter:
Extract Window - Highlighter
and click along the edge of my fabric to select it. Hold down the Shift key to make a solid line between click points.
Here it is with the entire edge selected:
Extract Window - Highlighting the Edge
Now I’m going to use the Fill bucket and click on my fabric to color it:
Extract Window - Fill
I click “Ok” and here’s my result:
Extract Result
And that’s a simple and easy way to extract something from a picture and preserve the edges. I could have just erased the background, but I wanted to preserve the soft edge of the fleecy fabric.
Now I’m going to define the fleece as a pattern. I want to zoom in closely and make a rectangular selection using the marquee tool:
Defining Pattern
I go to Edit > Define Pattern and choose a name for this pattern. I’m going to call it “Orange Fleece 2.”
So now the pattern is saved!
I am going to make several fleece patterns and I want to make a set. I go to Edit > Preset Manager, and select Patterns in the drop-down box. I see this:
Pattern Window
This is all of the patterns that I currently have loaded. Now, I don’t want to have all of these in my Fleece set, so I’m going to delete by shift+left clicking at the front and end of the selection that I want to remove (to highlight the range), and then clicking Delete.
Now I’ve just got my 2 fleece patterns. I’m going to select them both (hold down Ctrl to select multiple ones) and Save Set as Maitri Fleece Patterns.
Now that I have my patterns saved, I want to use one on a scrapbooking element to see how it looks.
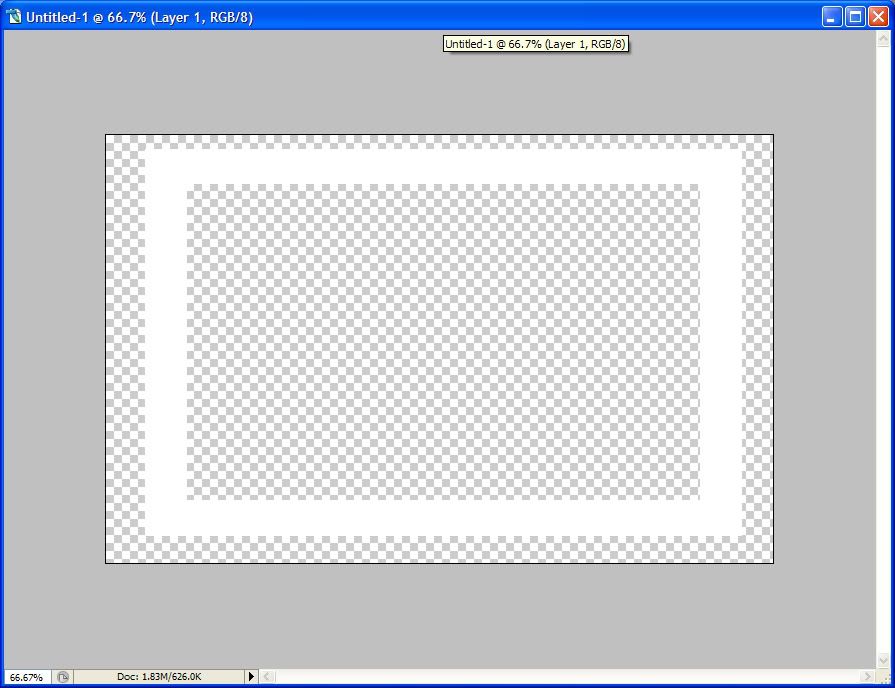
Here’s a standard frame:
Blank Frame
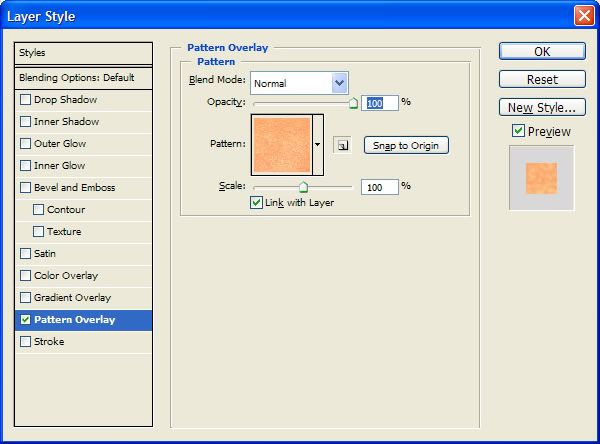
I go to Blending Options in the Layers Palette and select Pattern Overlay. It automatically chooses one of my loaded patterns. Alternatively, you can use your Fill Bucket and fill the frame with a pattern instead:
Pattern Overlay
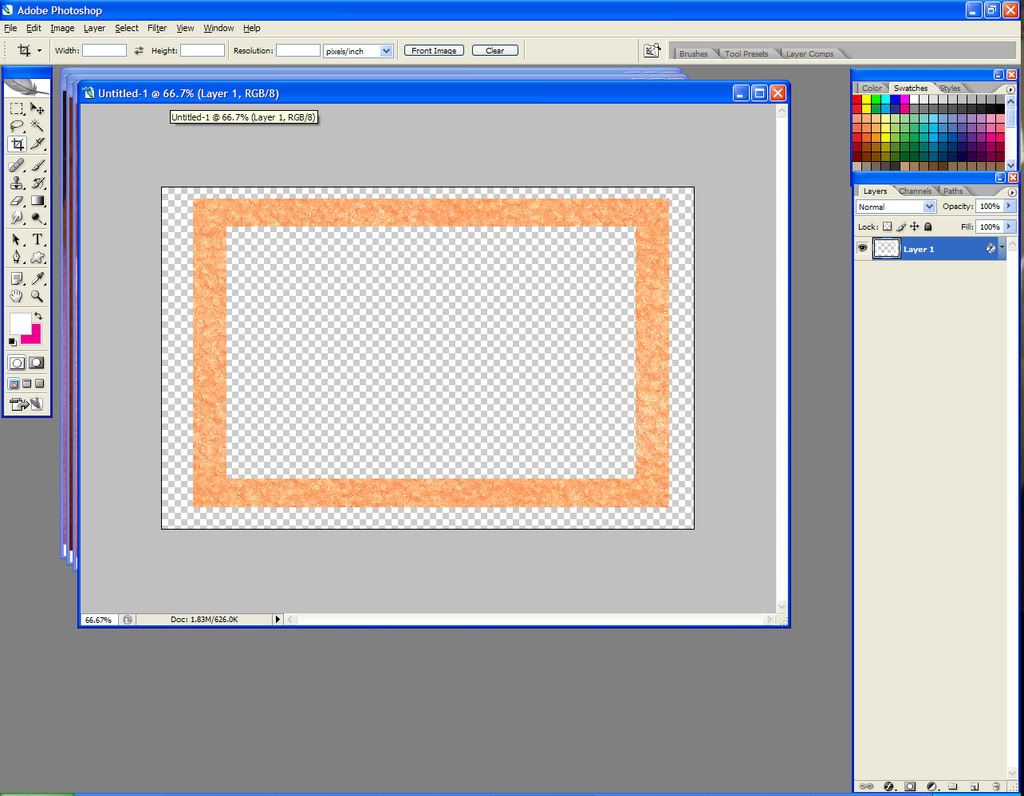
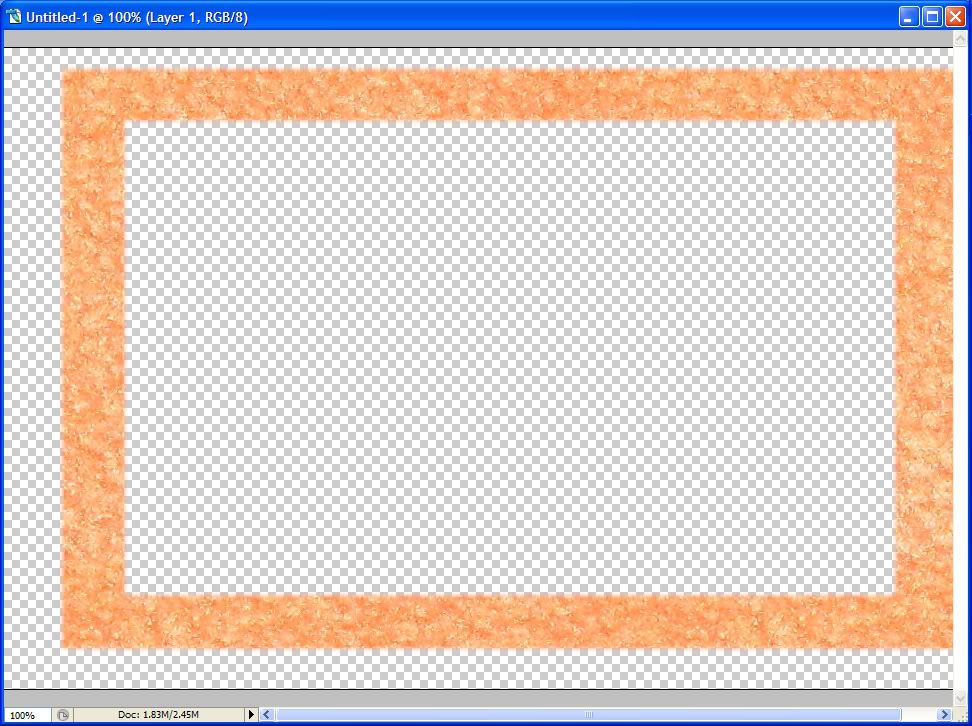
And here’s the resulting frame:
Patterned Frame
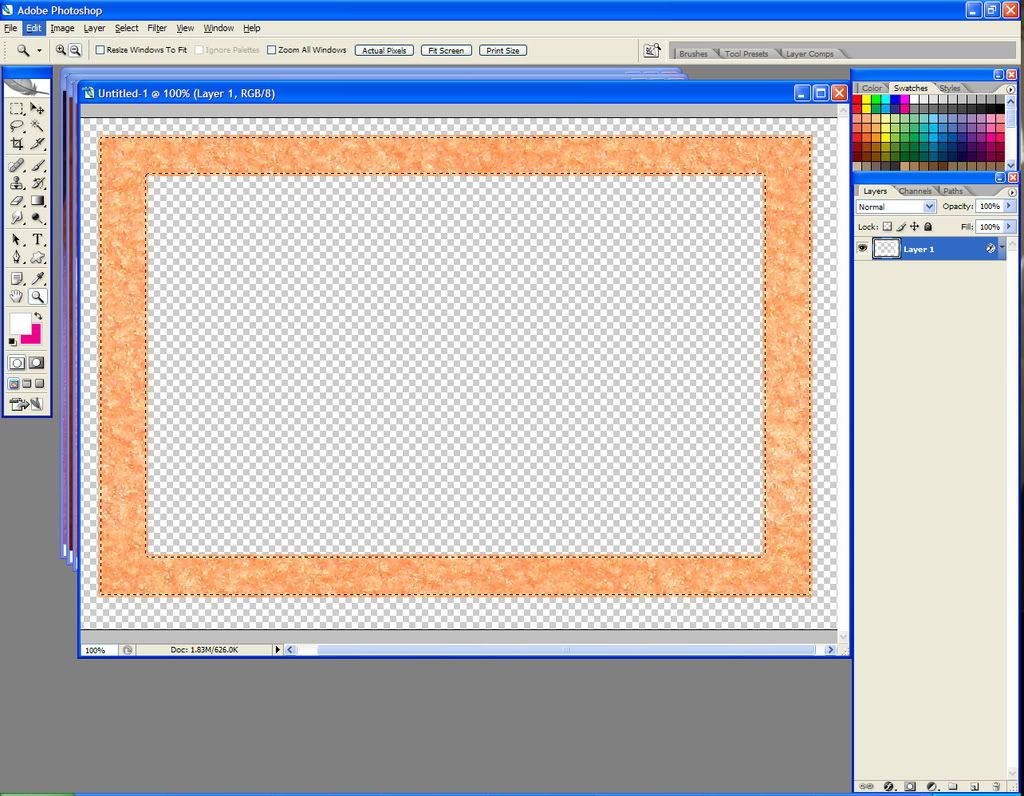
That looks pretty good! But fleece has rough edges, so I want to soften up the edges of my frame a little, to make it look more like it’s made of fleece. I hold Ctrl and left click on the thumbnail in the layers palette to select just the frame. Then I go to Select > Modify > Contract and contract it by 3 pixels.
Select > Modify > Contract
I go to Select > Invert Selection to select the outer edge and middle (the part that is not colored).
I go to Filter > Blur > Gaussian Blur and lay on a light blur of 1. This makes the edges soft:
Gaussian Blur
And there we have it! A frame that looks like it’s made out of orange fleece. Cute!
Here’s the download link to download the frame that I just created:
Fleece Frame
I hope this tutorial has been helpful. If you have any questions or comments/feedback, please feel free to email me at maitri@mchsi.com, or IM me at MaitriScraps on AOL IM.
No comments:
Post a Comment