
Creating a Frame from a Background Paper in Photoshop CS
This tutorial will walk you through a quick and easy way to frame photos using background papers that you already own. Once you understand the concept, your number of available frames to use in scrapbooking projects increases exponentially!
I’m framing two photos in this tutorial, but the technique works just as well with one or more than two.
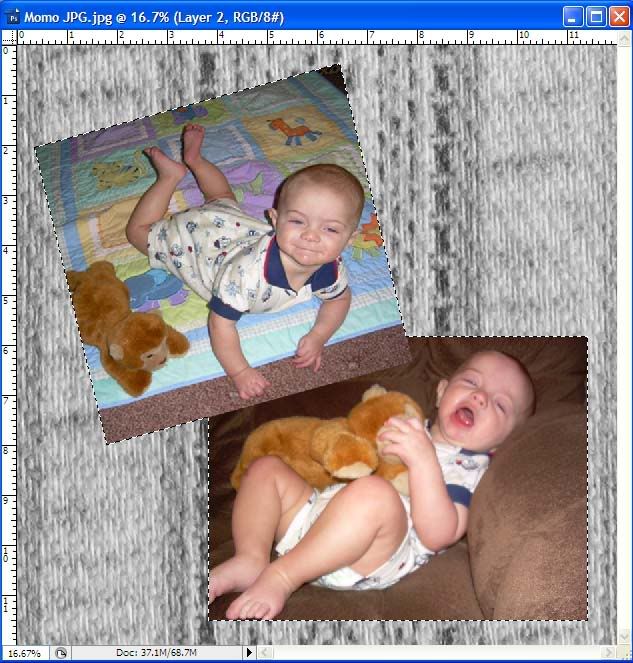
I have two photos on top of a background paper:
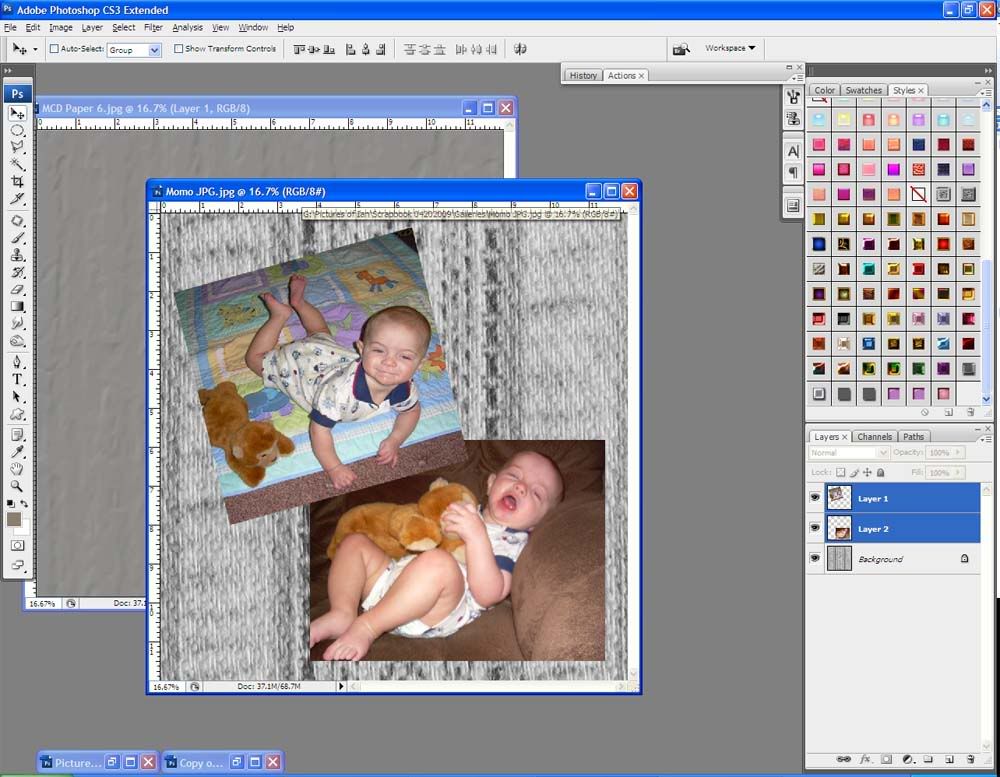
To the right, you can see my layers palette. Each photo is on its own layer.
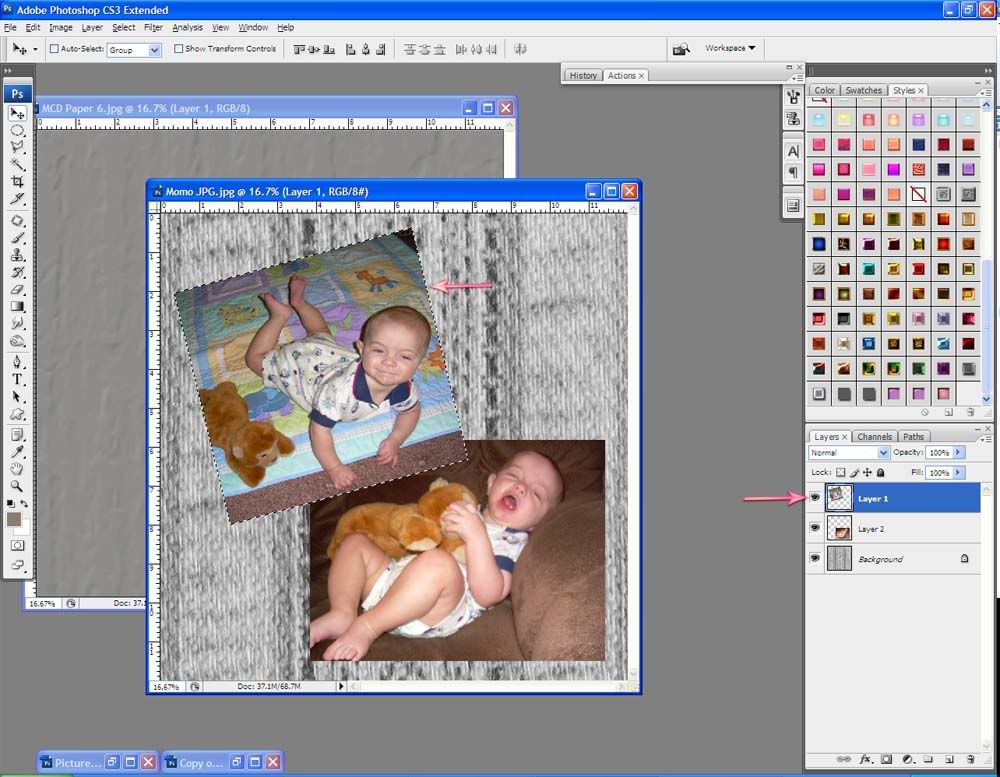
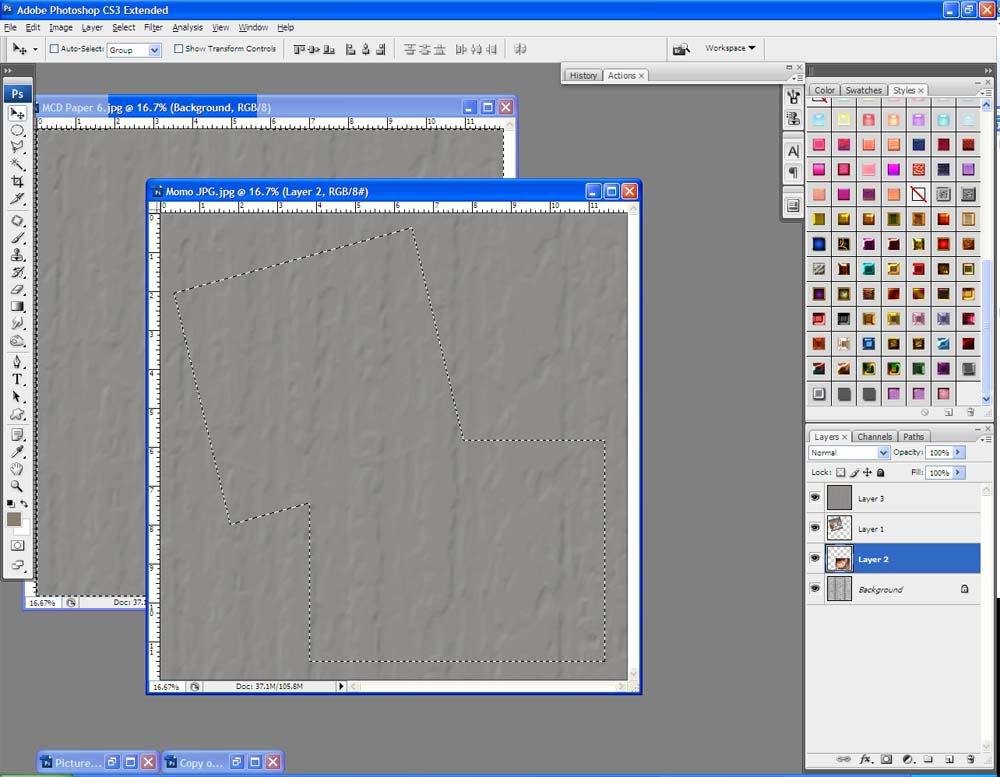
Ctrl+Left click on the first photo layer. You will see a line of “marching ants” around the photo.
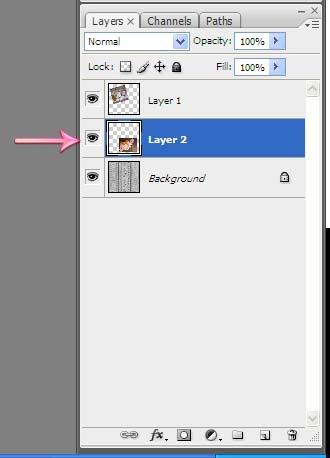
Now, left click one time (do not double click) on the layer for the 2nd photo.
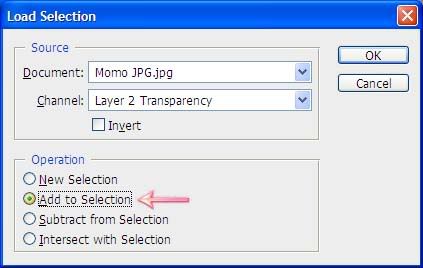
Go to Select > Load Selection. In the window that pops up, select “Add to Selection.”
Now the line of marching ants should be around both photos. If it isn’t, start over.
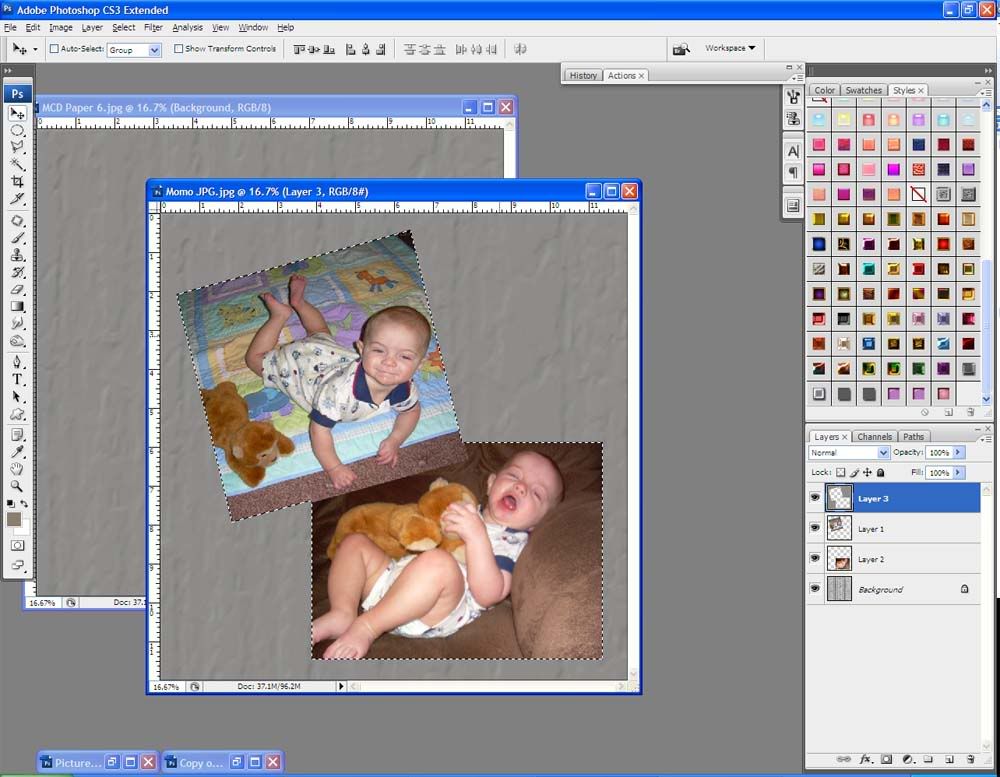
Bring over your background paper from wherever you have it stowed. It will be on its own layer in your workspace.
If Photoshop changes your selection when you bring the paper over, redo the selection process as described above.
Have your frame paper’s layer active. Now, go to Select > Modify > Contract and contract the selection by 15 pixels.

Hit the delete key to clear.
Don’t deselect yet!
Go to Select > Modify > Expand and expand the selection by 50 pixels.

Go to Select > Inverse. Hit the delete key to clear.
You should now have a frame around your photo(s) that has the color and texture of the background paper that you were using.
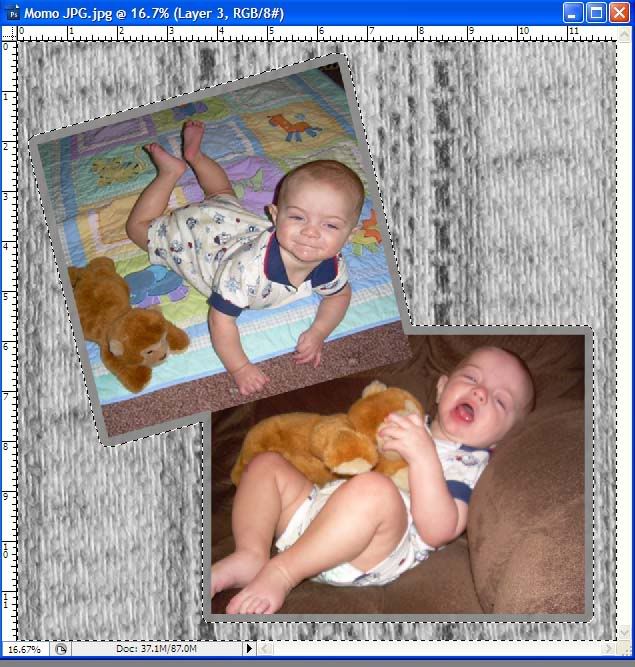
You can use this technique to frame anything, not just photos. Play around with it and have fun!
This tutorial will walk you through a quick and easy way to frame photos using background papers that you already own. Once you understand the concept, your number of available frames to use in scrapbooking projects increases exponentially!
I’m framing two photos in this tutorial, but the technique works just as well with one or more than two.
I have two photos on top of a background paper:

To the right, you can see my layers palette. Each photo is on its own layer.
Ctrl+Left click on the first photo layer. You will see a line of “marching ants” around the photo.

Now, left click one time (do not double click) on the layer for the 2nd photo.

Go to Select > Load Selection. In the window that pops up, select “Add to Selection.”

Now the line of marching ants should be around both photos. If it isn’t, start over.

Bring over your background paper from wherever you have it stowed. It will be on its own layer in your workspace.

If Photoshop changes your selection when you bring the paper over, redo the selection process as described above.
Have your frame paper’s layer active. Now, go to Select > Modify > Contract and contract the selection by 15 pixels.

Hit the delete key to clear.

Don’t deselect yet!
Go to Select > Modify > Expand and expand the selection by 50 pixels.

Go to Select > Inverse. Hit the delete key to clear.
You should now have a frame around your photo(s) that has the color and texture of the background paper that you were using.

You can use this technique to frame anything, not just photos. Play around with it and have fun!
No comments:
Post a Comment