This is a very easy, quick method of making puffy stickers in Photoshop CS.
I’m making these stickers quite large – 12x12 canvas, 300 ppi. I’m also just using random shapes, including some pretty flowers from Al Ward at ActionFX. If you make your stickers smaller, you’ll want to adjust your blending option sizes, specifically your stroke size.
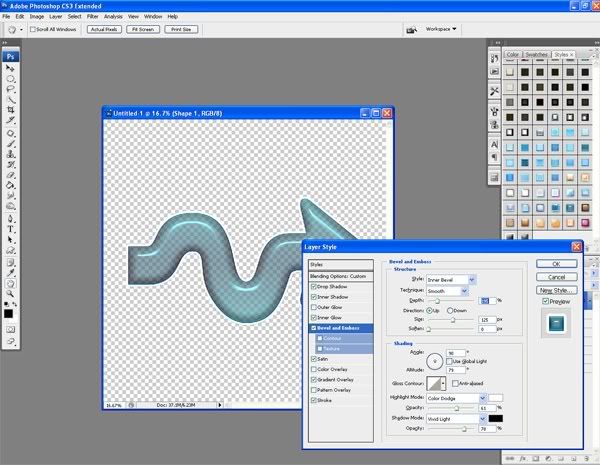
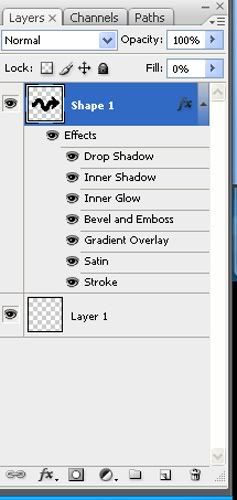
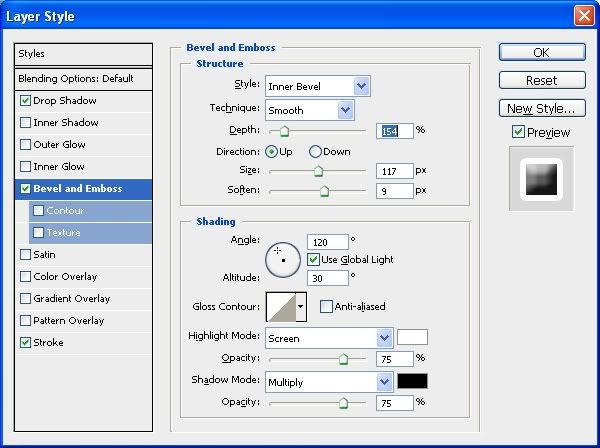
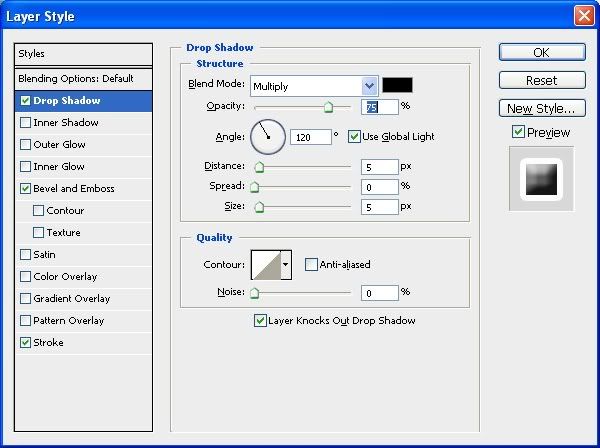
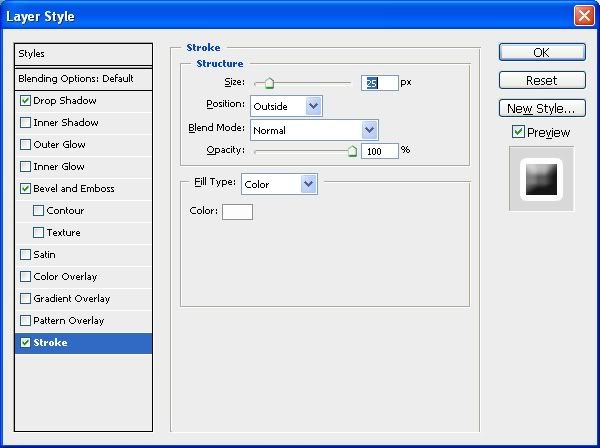
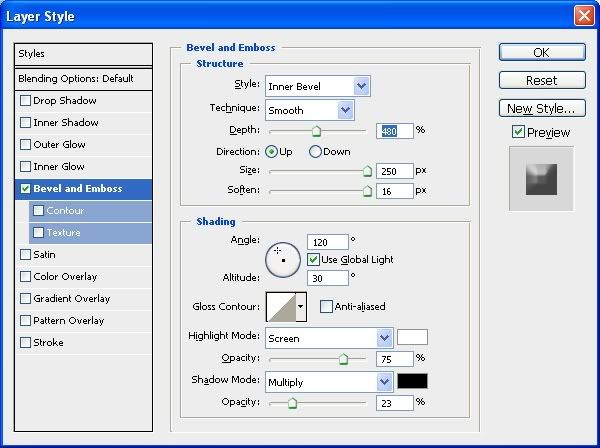
Here I’ve created a new document, added a shape, rasterized the shape, and added a random layer style (DW’s Glass Styles are used in this tutorial). Make sure to use a nice bevel, drop shadow that’s dark but not far from the object, and a large white stroke.
If the style you use on your shape doesn’t have drop shadow, bevel, or a white stroke, add them.
Once you have your blending options as you want them, create a new layer. Move the new layer to below your shape layer. Left click once on the shape layer, then Ctrl+O to merge the 2 layers.
Now add more blending options:
Create a new layer, move it below, then merge again.
For a third time, add blending options:
Merge the layers a final time.
And that’s it! Image > Trim by Transparent Pixels, and then you have a sweet puffy sticker to use in your layouts.
I hope you enjoyed this tutorial. Ideas for future tutorials, requests, comments, and questions are welcome in the comments or at maitri@mchsi.com.

Thank you so much for sharing. I have always wondered how it was done.
ReplyDeleteThank you! Your blog post will be advertised on the DigiFree Tutorials search engine today (look for timestamp: 18 Nov [LA 04:56pm, NY 07:56pm] - 19 Nov [UK 12:56am, OZ 11:56am] ).
ReplyDeleteWow! I really appreciate your sharing this tutorial. I love to learn how to do things. So much to learn :)
ReplyDeleteThanks again, hope to see more tutorials
This is very much appreciated, thank you so much for this tutorial. I used to collect puffy stickers though I always wanted to learn how to do it. decal stickers
ReplyDelete